Sharp secateurs make cleaner cuts, require less hand pressure and are easier to control. A blade does not need to be visibly damaged to have become dull; gradual wear is enough to make pruning feel increasingly heavy and leave crushed or ragged stems.
Regular light maintenance is usually better than waiting until the edge needs major repair.
Clean before sharpening
Remove soil, dried sap and resin first. Sharpening over dirt makes it difficult to see the original blade angle and can contaminate the sharpening tool.
Use the cleaning method recommended for the secateurs and dry metal parts afterwards.
Inspect the blade
Look for chips, rolled edges, cracks and excessive wear. Light dullness can normally be corrected at home. A badly chipped or damaged blade may need professional attention or replacement.
Understand which edge is bevelled
On bypass secateurs, the cutting blade usually has a bevel on one side while the back is comparatively flat. Preserve that geometry.
Sharpening both sides equally can alter the way the blades meet and reduce cutting performance.
Choose a suitable sharpening tool
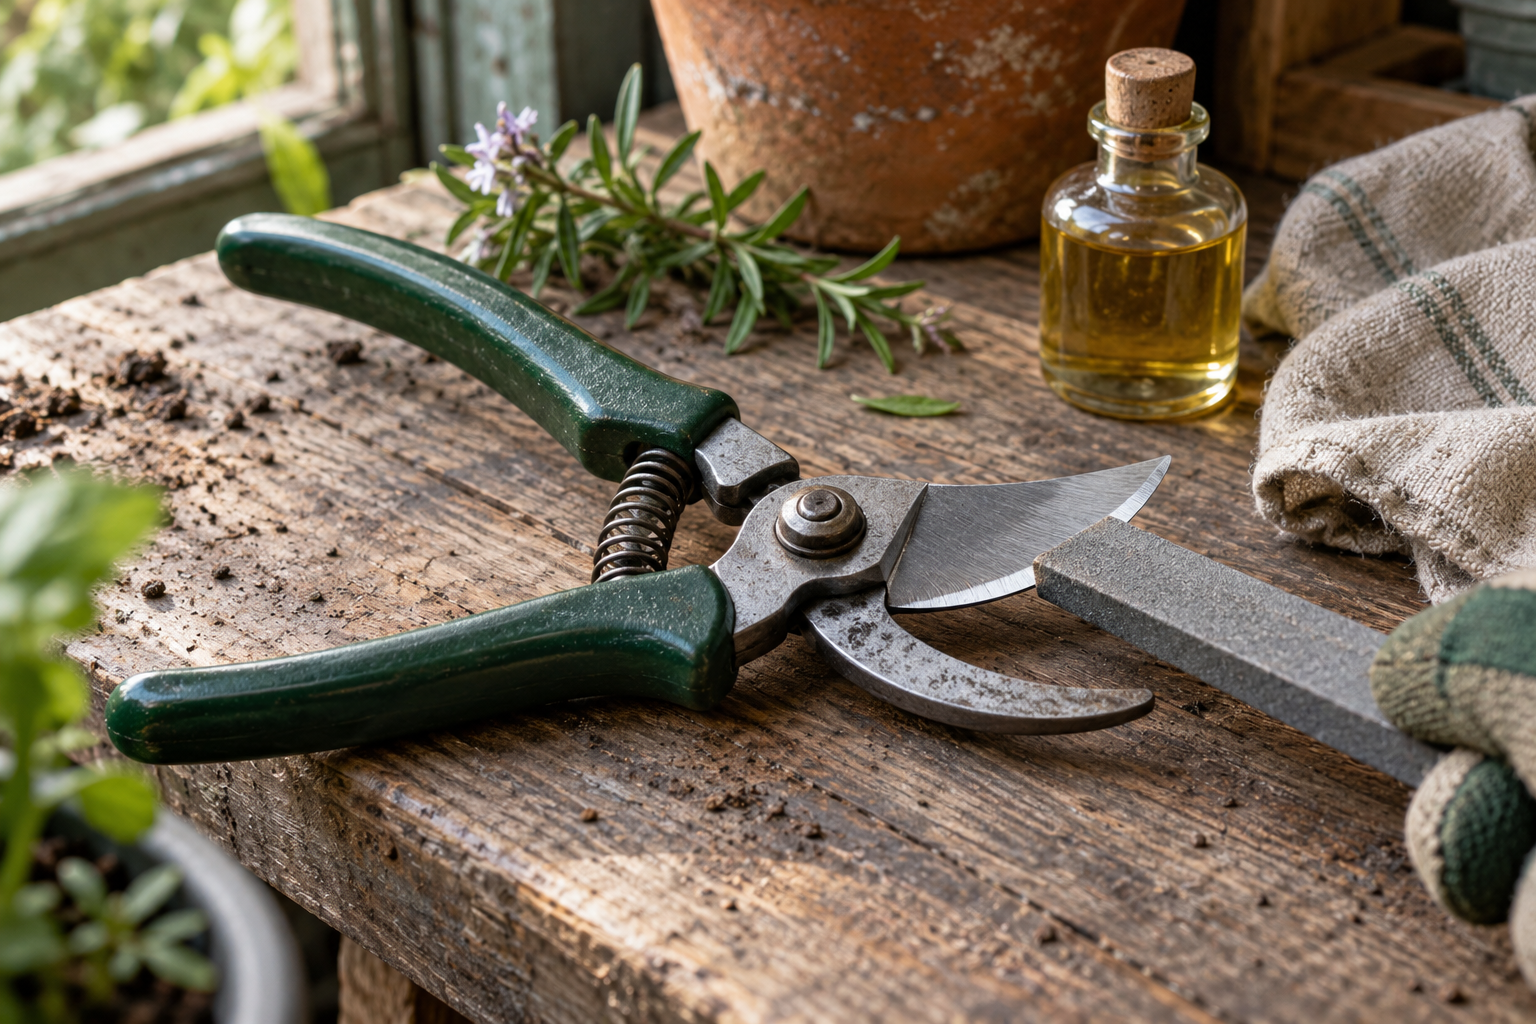
A small diamond file, fine sharpening stone or tool specifically designed for secateurs can all work. The important thing is that it allows controlled contact with the blade at the correct angle.
A very coarse file removes material quickly but is unnecessarily aggressive for routine maintenance.
Follow the existing bevel
Lay the sharpener against the bevel and use smooth strokes along the cutting edge. Follow the angle already established by the manufacturer rather than trying to create a steeper, razor-like edge.
Work progressively along the whole blade so one area does not become hollow or over-sharpened.
Remove the burr carefully
Sharpening can create a very fine burr on the flat side of the blade. A light pass with a fine stone or file can remove it.
Do not grind a second bevel into the back of the blade.
Check blade alignment
A sharp blade still performs poorly if it does not pass closely against the counter-blade. Check for sideways movement at the pivot.
If the model allows adjustment, tighten the pivot enough to remove excessive play while keeping movement smooth.
Lubricate the moving parts
After cleaning and sharpening, apply a small amount of suitable lubricant to the pivot and moving surfaces. Wipe away excess.
This reduces friction and helps protect metal components during storage.
Test on a real stem
A piece of paper can show whether a blade is sharp, but secateurs are designed for plant stems. Test them on clean healthy pruning material of a suitable diameter.
The cut should be smooth and require noticeably less pressure than before sharpening.
When should secateurs be sharpened?
There is no fixed schedule because use varies enormously. Check them when cuts begin to look crushed, when more pressure is needed or before a major pruning season.
A light touch-up several times a year can be easier than one heavy sharpening session.
Do not sharpen away damage indefinitely
Blades are consumable parts. Once a blade has been sharpened repeatedly, become badly chipped or no longer aligns correctly, replacement may be the better option.
Maintenance changes how a tool feels
A clean, sharp and correctly adjusted pair of secateurs requires less force and gives much better feedback through the hand. The improvement is often more noticeable than buying a new tool simply because the existing one has become neglected.
See Keeping garden tools in good condition for broader tool maintenance.