
Category: Tool Care & Sharpening

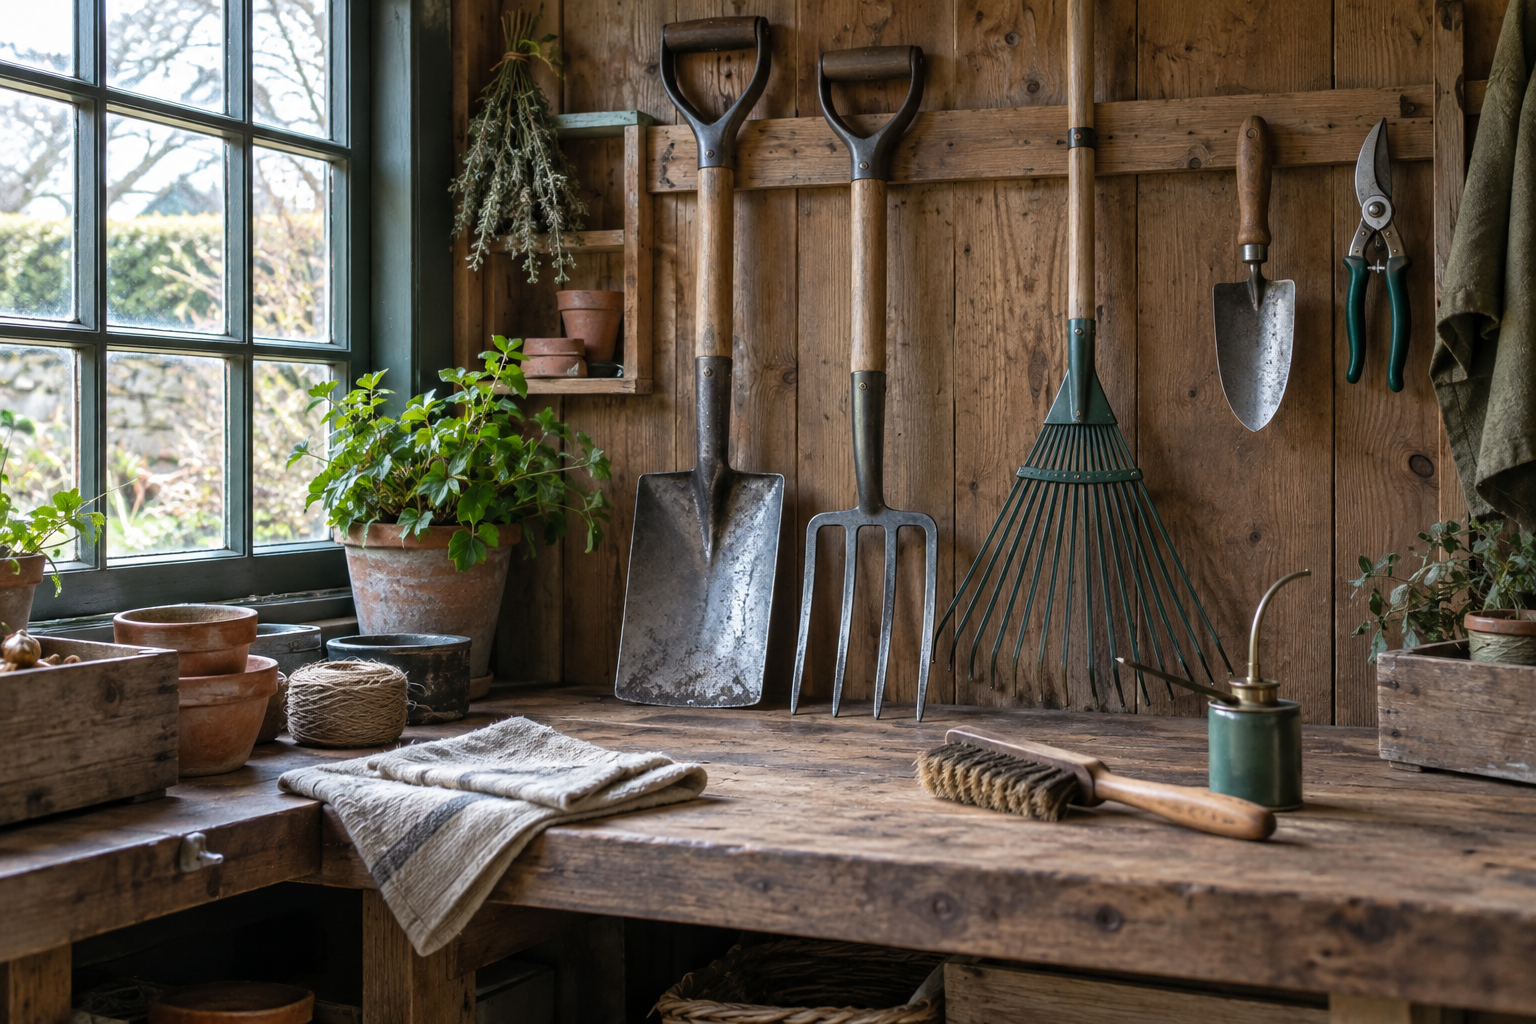
  • How to clean and store garden tools for winter

    How to clean and store garden tools for winter

    The end of the main growing season is a useful time to deal with tools before they disappear into a damp shed for several months. Soil, sap and moisture left on metal encourage corrosion, while loose handles and blunt blades are easier to fix now than when spring work has already begun.

    Winter tool care does not need to become a large restoration project. A methodical hour with the tools you use most can prevent many common failures.

    Start by sorting what you actually use

    Bring together hand tools, spades, forks, secateurs, loppers and saws. Separate tools that are ready for routine cleaning from those needing repair.

    This is also a good moment to identify duplicates or damaged tools that are taking up storage space without being useful.

    Remove soil from metal surfaces

    Allow heavy clay to dry slightly if that makes it easier to brush away. Use a stiff brush or wooden scraper rather than immediately storing tools covered in wet soil.

    If tools are washed, dry them thoroughly afterwards.

    Remove sap and resin

    Pruning tools often develop sticky deposits that interfere with blade movement. Clean these before storage using an appropriate cleaner for the tool.

    Pay particular attention to pivots and areas where two blades move against each other.

    Inspect for rust

    Light surface rust can often be removed with a fine abrasive or wire brush. Once clean, protect bare steel with a very light coating of suitable oil.

    Deep corrosion, cracks or severe thinning may indicate that the part is no longer safe.

    Check wooden handles

    Look for splits, rough fibres and looseness where the handle enters the metal socket. Light sanding can remove uncomfortable roughness.

    Depending on the wood and manufacturer recommendations, a suitable oil can help prevent the handle becoming excessively dry.

    Tighten loose fittings

    Check bolts, screws and pivots. A small amount of movement now can become a major failure when the tool is under load.

    Replace missing fasteners with appropriate parts rather than improvising with something that changes the tool’s strength or movement.

    Sharpen cutting tools

    Secateurs, loppers, hoes and some spades benefit from a maintained cutting edge. Sharpen according to the original blade geometry rather than making every tool razor sharp.

    Saws generally require specialist sharpening or blade replacement depending on their design.

    Lubricate pivots and springs

    After cleaning, place a small amount of appropriate lubricant on moving joints. Open and close the tool several times to distribute it, then wipe away excess.

    Store tools dry and off the ground

    A damp concrete or soil floor is a poor place for metal tools. Hang long-handled tools where possible or store them in a rack with good airflow.

    Avoid wrapping damp tools tightly in plastic because trapped moisture can accelerate corrosion.

    Think about safety

    Close and lock secateurs, cover exposed saw teeth where appropriate and store sharp edges where they cannot be reached accidentally.

    Heavy long-handled tools should be secure rather than balanced loosely against a wall where they can fall.

    Repair or replace?

    Quality tools are often repairable. Handles, blades, springs and bolts may all be replaceable depending on the design.

    Repair makes sense where the structural parts remain sound. A cracked socket, severely bent fork or badly weakened metal may need professional assessment or replacement.

    A clean tool is easier to reach for

    Winter maintenance has a practical benefit beyond extending tool life. When the first planting and pruning jobs arrive in spring, tools are ready to use rather than becoming another job that needs doing first.

    See also Keeping garden tools in good condition and Preparing the garden for winter.
  • How to sharpen secateurs

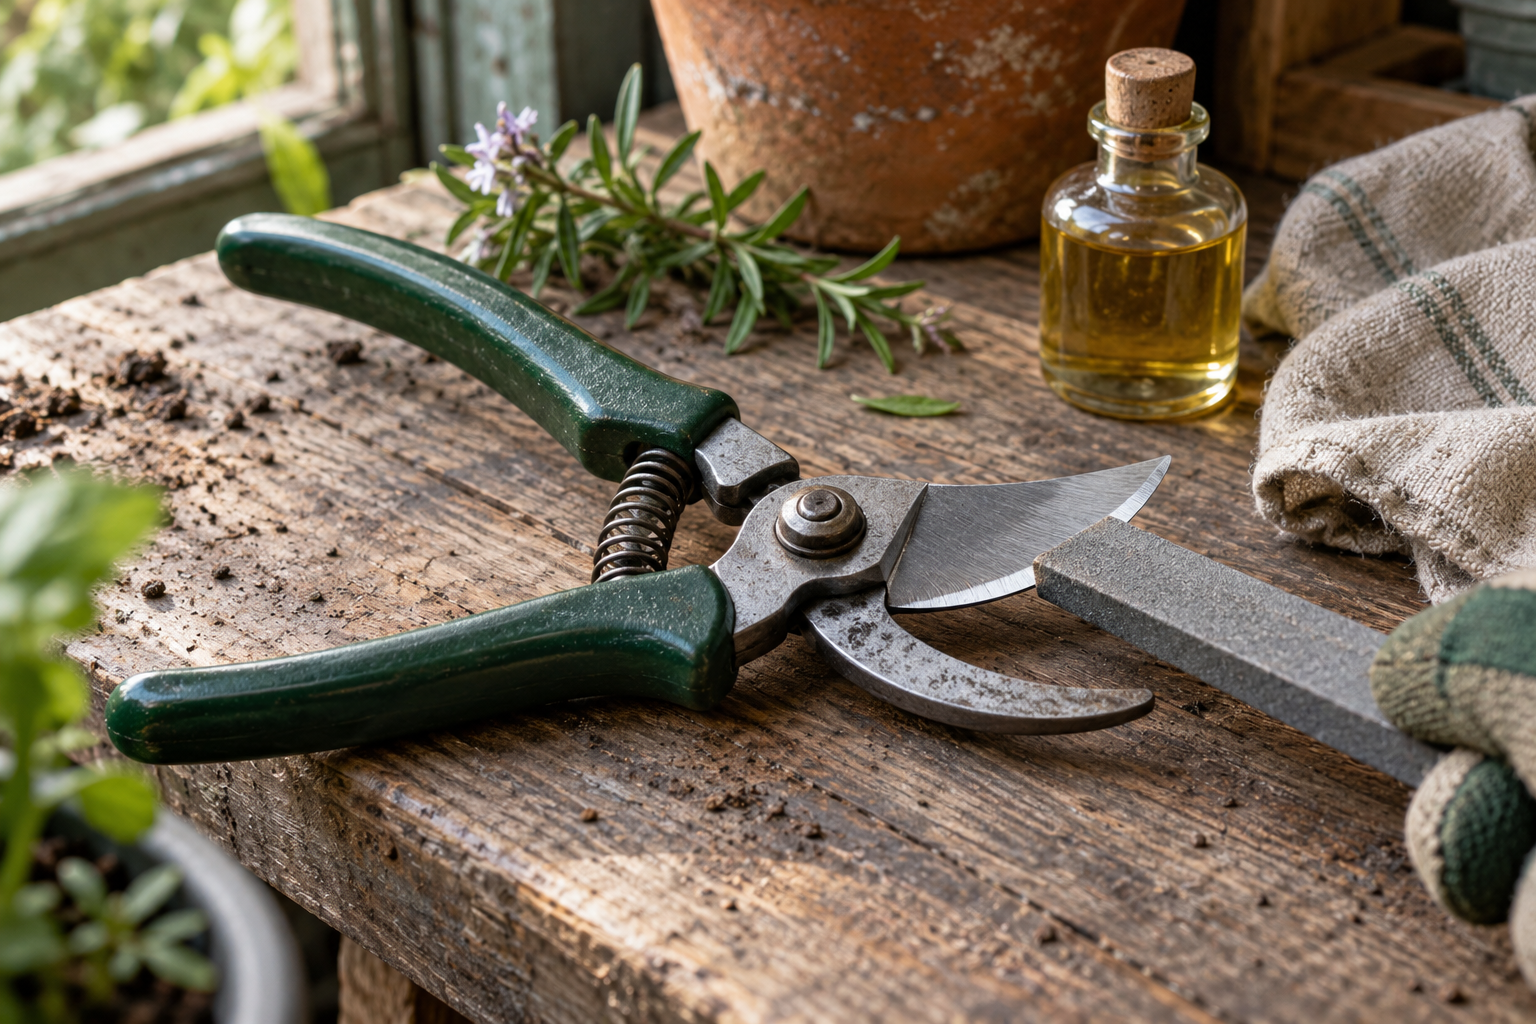
    How to sharpen secateurs

    Sharp secateurs make cleaner cuts, require less hand pressure and are easier to control. A blade does not need to be visibly damaged to have become dull; gradual wear is enough to make pruning feel increasingly heavy and leave crushed or ragged stems.

    Regular light maintenance is usually better than waiting until the edge needs major repair.

    Clean before sharpening

    Remove soil, dried sap and resin first. Sharpening over dirt makes it difficult to see the original blade angle and can contaminate the sharpening tool.

    Use the cleaning method recommended for the secateurs and dry metal parts afterwards.

    Inspect the blade

    Look for chips, rolled edges, cracks and excessive wear. Light dullness can normally be corrected at home. A badly chipped or damaged blade may need professional attention or replacement.

    Understand which edge is bevelled

    On bypass secateurs, the cutting blade usually has a bevel on one side while the back is comparatively flat. Preserve that geometry.

    Sharpening both sides equally can alter the way the blades meet and reduce cutting performance.

    Choose a suitable sharpening tool

    A small diamond file, fine sharpening stone or tool specifically designed for secateurs can all work. The important thing is that it allows controlled contact with the blade at the correct angle.

    A very coarse file removes material quickly but is unnecessarily aggressive for routine maintenance.

    Follow the existing bevel

    Lay the sharpener against the bevel and use smooth strokes along the cutting edge. Follow the angle already established by the manufacturer rather than trying to create a steeper, razor-like edge.

    Work progressively along the whole blade so one area does not become hollow or over-sharpened.

    Remove the burr carefully

    Sharpening can create a very fine burr on the flat side of the blade. A light pass with a fine stone or file can remove it.

    Do not grind a second bevel into the back of the blade.

    Check blade alignment

    A sharp blade still performs poorly if it does not pass closely against the counter-blade. Check for sideways movement at the pivot.

    If the model allows adjustment, tighten the pivot enough to remove excessive play while keeping movement smooth.

    Lubricate the moving parts

    After cleaning and sharpening, apply a small amount of suitable lubricant to the pivot and moving surfaces. Wipe away excess.

    This reduces friction and helps protect metal components during storage.

    Test on a real stem

    A piece of paper can show whether a blade is sharp, but secateurs are designed for plant stems. Test them on clean healthy pruning material of a suitable diameter.

    The cut should be smooth and require noticeably less pressure than before sharpening.

    When should secateurs be sharpened?

    There is no fixed schedule because use varies enormously. Check them when cuts begin to look crushed, when more pressure is needed or before a major pruning season.

    A light touch-up several times a year can be easier than one heavy sharpening session.

    Do not sharpen away damage indefinitely

    Blades are consumable parts. Once a blade has been sharpened repeatedly, become badly chipped or no longer aligns correctly, replacement may be the better option.

    Maintenance changes how a tool feels

    A clean, sharp and correctly adjusted pair of secateurs requires less force and gives much better feedback through the hand. The improvement is often more noticeable than buying a new tool simply because the existing one has become neglected.

    See Keeping garden tools in good condition for broader tool maintenance.