Category: Plant & Grow

  • How to sow seeds indoors for spring

    How to sow seeds indoors for spring

    Sowing seeds indoors is one of the simplest ways to give the growing season a useful head start. It allows tender or slow-growing plants to begin in controlled conditions while the garden outside is still cold, wet or unpredictable. The aim, however, is not simply to sow as early as possible. Strong seedlings come from getting timing, light, temperature and watering in balance.

    Start with timing, not the seed tray

    Before opening a packet of seed, check when the plant can realistically move outside. A seedling sown too early may spend weeks indoors after it has outgrown the space available to it. That often produces stretched stems, crowded roots and plants that are more difficult to establish later.

    Work backwards from the likely planting-out date. Tender plants generally need to wait until the risk of damaging frost has passed, while hardier crops and flowers can move outside sooner. The seed packet remains useful, but local conditions matter too: spring arrives at different speeds in different gardens.

    What you need

    • Clean seed trays, modules or small pots with drainage holes
    • A fine, peat-free seed or multipurpose compost
    • A watering can with a fine rose, or a tray for watering from below
    • Labels and a waterproof pencil
    • A bright windowsill, greenhouse or other well-lit position
    • Optional clear lids or propagation covers for seeds that benefit from steady humidity

    Good seed compost should hold enough moisture for germination without remaining saturated. A very rich compost is unnecessary at this stage: the seed contains much of the energy needed for its first growth.

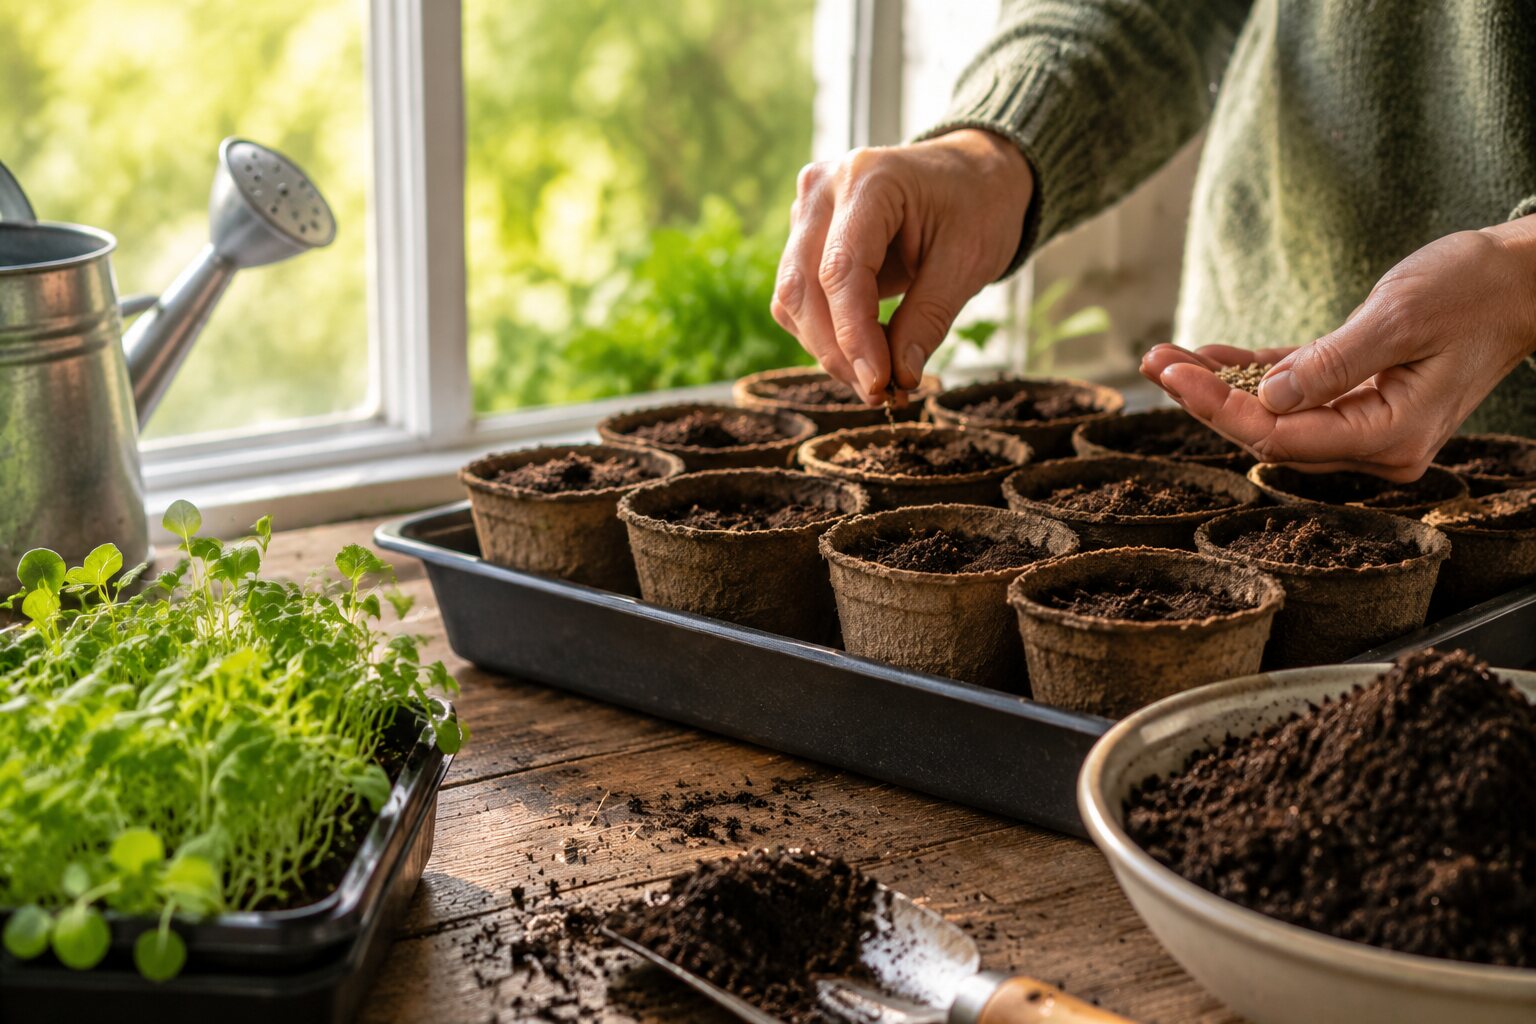
    1. Fill the container without compacting it

    Fill trays or modules with moist compost and settle it lightly. Avoid pressing it into a dense block. Roots develop better where the compost contains a useful balance of moisture and air.

    Level the surface so that water does not collect in depressions. For very small seeds, a relatively fine surface makes even sowing easier.

    2. Sow at the right depth

    A useful general rule is that larger seeds are covered by roughly their own depth or a little more, while very fine seeds may need only the lightest covering. Some seeds require light to germinate and are best left on the surface. The packet instructions take priority where a plant has particular requirements.

    Do not sow more densely simply because the seed is small. Crowded seedlings compete for light and airflow almost immediately. In modules, one or two seeds per cell often makes later handling much easier.

    3. Water gently

    Watering can undo careful sowing in seconds if a heavy stream displaces the seed. Use a fine rose or stand the container briefly in shallow water and allow moisture to rise through the drainage holes. The compost should be evenly damp rather than waterlogged.

    4. Give seeds the temperature they need

    Different plants germinate at different temperatures. Many common garden plants germinate comfortably in normal indoor warmth, while some prefer cooler conditions. A propagator can be useful for genuinely warmth-loving plants, but unnecessary heat can also produce rapid, weak growth.

    Once germination begins, light becomes especially important. Remove opaque covers and move seedlings to the brightest suitable position.

    Light is usually the limiting factor

    Seedlings leaning strongly towards a window or developing long, pale stems are asking for more light. Rotate trays regularly if light comes mainly from one direction. A cool but very bright place is often better than a warm, dim room.

    Keep young plants away from hot radiators. Warmth accelerates growth, and without equally strong light the result is often soft, elongated seedlings.

    Pricking out and potting on

    Seedlings sown together in a tray usually need separating once they are large enough to handle. Their first leaves are seed leaves; the leaves that follow begin to show the shape of the mature plant. Once true leaves are developing, seedlings can normally be moved carefully into individual modules or pots.

    Handle small seedlings by a leaf rather than squeezing the delicate stem. Make a hole in fresh compost, lower the roots into it and firm very gently around the plant. Water afterwards to settle the compost around the roots.

    Do not skip hardening off

    Plants raised indoors have not experienced outdoor wind, stronger sunlight or large temperature changes. Moving them straight from a protected room to the garden can check their growth badly.

    Introduce plants gradually to outdoor conditions over roughly a week or two. Begin with sheltered periods outside during mild weather, bring them back under cover when necessary, then progressively increase their exposure.

    Common problems

    • Seedlings are tall and weak: increase light and, if possible, reduce excessive warmth.
    • Compost remains constantly wet: improve drainage and allow the surface to begin drying between waterings.
    • Seeds do not germinate: check temperature, moisture, sowing depth and the expected germination time before giving up.
    • Seedlings collapse at soil level: overcrowding, poor airflow and excessive moisture can encourage damping-off problems.

    A better approach to early sowing

    The strongest spring seedlings are not necessarily the earliest ones. They are the plants that reach outdoor conditions at the right size, with compact growth and healthy roots. Sow in manageable batches, label everything and keep notes on what worked. Within a few seasons, the best sowing dates for your own garden become much clearer.

    For more on growing conditions, see Peat-free compost in the garden and Planting a garden for the seasons.
  • How to sow hardy annuals in autumn

    How to sow hardy annuals in autumn

    Some of the easiest flowers in a garden are also among the best candidates for autumn sowing. Hardy annuals complete their life cycle in a single year but can tolerate cooler conditions than tender annuals. Sown at the right time, they begin developing before winter, pause when conditions become difficult and resume growth early in spring.

    The reward can be earlier flowers, stronger plants and less pressure during the busiest weeks of spring. Autumn sowing is not suitable for every annual or every garden, but where soil drains reasonably well it is a useful technique to add to the growing calendar.

    Which annuals suit autumn sowing?

    Look for genuinely hardy annuals rather than tender summer plants. Common candidates include cornflowers, calendula, nigella, larkspur and some poppies. Sweet peas are also frequently started in the cooler part of the year, although their cultivation is slightly different from direct-sown annual flowers.

    Seed packets often indicate whether autumn sowing is recommended. That guidance is worth following because species vary considerably in their tolerance of cold and wet conditions.

    Choose the right place

    Winter wet is often a greater threat to young plants than cold. A free-draining site with reasonable light gives autumn seedlings the best chance. Heavy soil that remains saturated for long periods may be better left for spring sowing, or the seed can be started in modules under light protection instead.

    Clear the site of established weeds before sowing. Young annual seedlings are much easier to manage when they are not competing immediately with perennial weeds or a flush of unwanted seedlings.

    Prepare a fine but firm seedbed

    Loosen only the surface that needs preparation and remove large stones or coarse debris. Break down large clods, then rake the soil level. The aim is not an excessively soft bed but a relatively fine surface with good contact between seed and soil.

    If the soil is very dry, water before sowing rather than trying to soak freshly sown seed afterwards.

    Sowing directly into the border

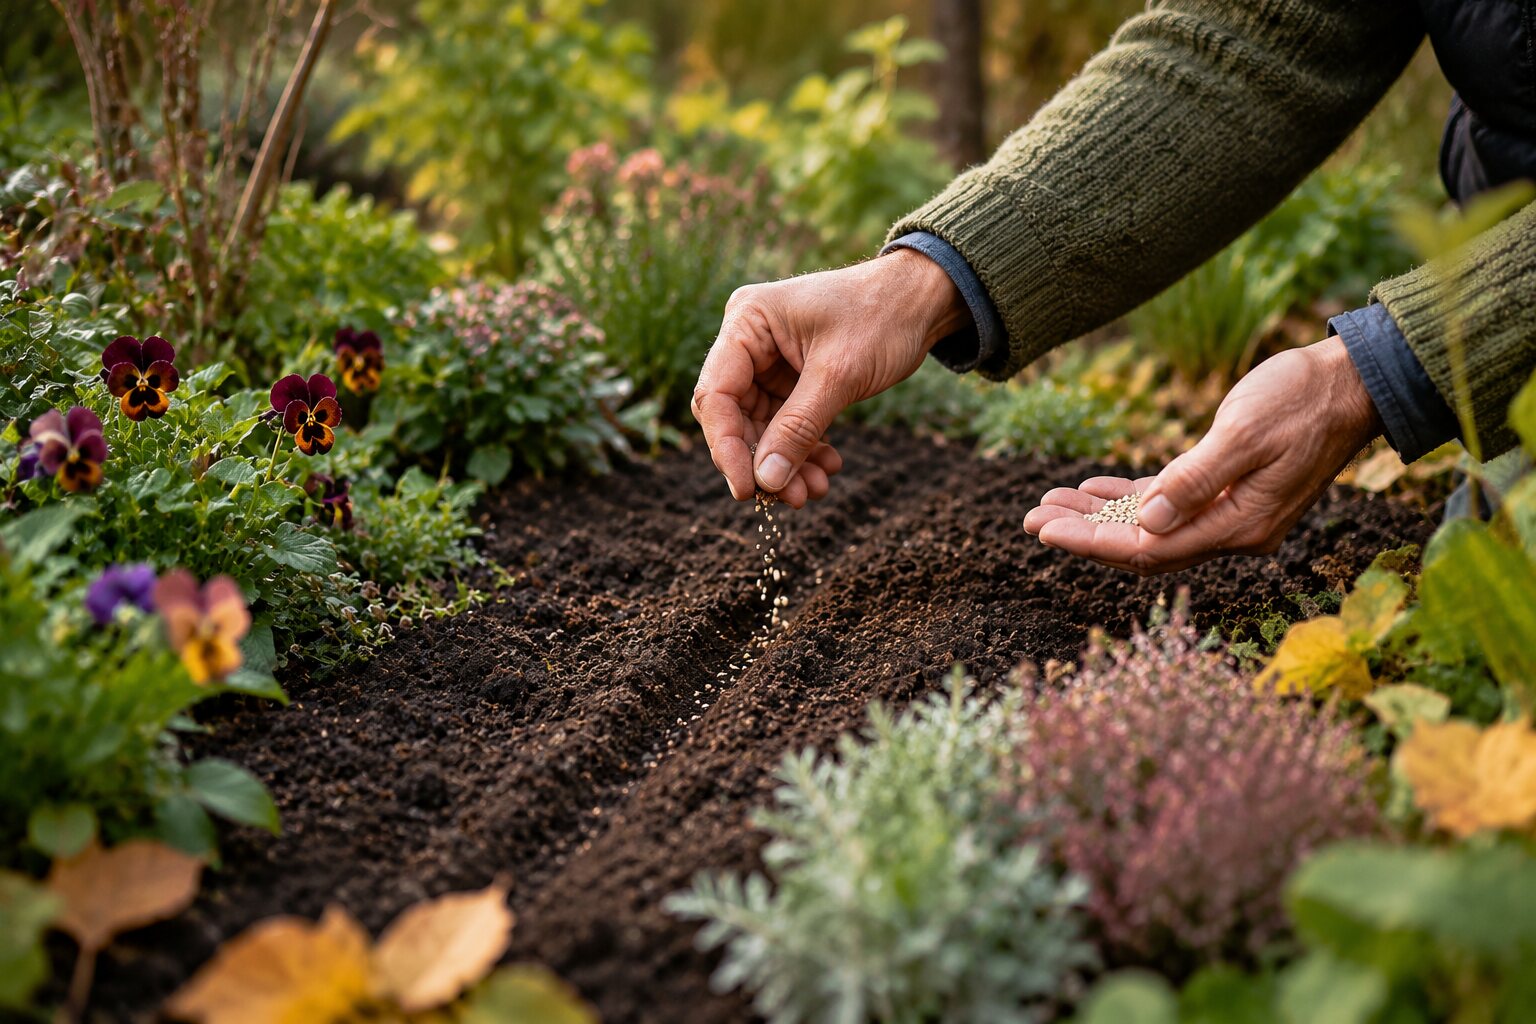
    For informal planting, seed can be scattered in small drifts. Where you want to distinguish seedlings from weeds more easily, shallow drills are useful. Sow more thinly than instinct suggests. Crowded seedlings usually need thinning later and can become weak if left competing for too long.

    Cover according to the requirements of the species and water gently if the soil needs it. A label is valuable even in an informal border: months later it can prevent you from accidentally removing the plants you deliberately sowed.

    An alternative: sow into modules

    If slugs, winter wet or poor soil make direct sowing unreliable, use modules or small pots. Keep them in a cold frame, unheated greenhouse or another bright, sheltered position. The intention is protection from the worst weather rather than forcing rapid growth with heat.

    Module-raised plants can be set out once conditions are suitable. Avoid allowing them to become root-bound while waiting for the border.

    What happens over winter?

    Some seedlings establish a small rosette and then appear to do very little. That is normal. Growth slows dramatically as temperature and day length fall. Strong autumn-sown plants are not supposed to become large before winter.

    After severe frost, plants may look temporarily flattened or marked. Give them time before assuming they are lost. Hardy annuals can recover surprisingly well once conditions improve.

    Thin early enough

    Where direct-sown seedlings emerge densely, thin them once they can be handled. Leaving enough room between plants encourages branching and allows air to move through the group. The final spacing depends on the species and on whether you want individual specimen plants or a looser drift.

    Spring care

    As active growth resumes, check for weed competition and slug damage. Water only when conditions are genuinely dry. Plants rooted into the border from autumn are often better equipped to find moisture than newly planted spring seedlings.

    Tall species may benefit from discreet support before they begin to lean. Adding support early is usually less conspicuous than trying to rescue mature stems after wind or heavy rain.

    Why autumn sowing sometimes fails

    • The seed was sown too early and produced excessive soft growth before winter.
    • The site remained waterlogged for long periods.
    • Seedlings were lost to slugs or birds soon after emergence.
    • The species was not truly hardy enough for the conditions.
    • Seed was sown too deeply or allowed to dry during germination.

    Use autumn sowing as one part of the plan

    There is no need to choose between autumn and spring sowing. Using both spreads risk and extends the flowering period. Sow a modest amount in autumn, see how it performs in your soil, then make a second sowing in spring. Over time this reveals which plants genuinely benefit from the earlier start in your garden.

    For a wider seasonal approach, read Planting a garden for the seasons.

  • How to divide established perennials

    How to divide established perennials

    Dividing established perennials is one of the most useful ways to renew a border without starting again. A mature clump can often be lifted and separated into several vigorous pieces, giving you new plants while improving the performance of the original one.

    Division is particularly valuable when a perennial has become congested, developed a bare centre, produced fewer flowers or simply grown beyond the space intended for it.

    When should perennials be divided?

    For many garden perennials, the best periods are spring as active growth begins or early autumn while soil is still warm enough for roots to establish. Avoid dividing during severe heat, frozen conditions or when soil is saturated.

    A useful principle is to give the divided plant time to make roots before it has to cope with either summer drought or winter extremes.

    Not every perennial wants the same treatment

    Many clump-forming perennials divide readily, but plants with deep taproots, woody crowns or very specific root structures may respond poorly. If you are unsure, check the propagation method recommended for the particular plant before lifting a valuable specimen.

    Prepare the new planting area first

    Do not leave freshly divided plants lying in the sun while you decide where they should go. Prepare the destination before lifting the parent clump. Remove perennial weeds, loosen compacted soil and make sure the area drains reasonably well.

    Where the soil needs improvement, incorporate suitable organic matter into the wider planting area rather than creating a small pocket of completely different material around the roots.

    1. Cut back excessive top growth if necessary

    Large leafy plants are easier to handle when some top growth is removed, particularly in autumn. Do not cut everything automatically: the amount depends on the plant and the season. The goal is simply to reduce damage and moisture loss while you work.

    2. Lift a generous root ball

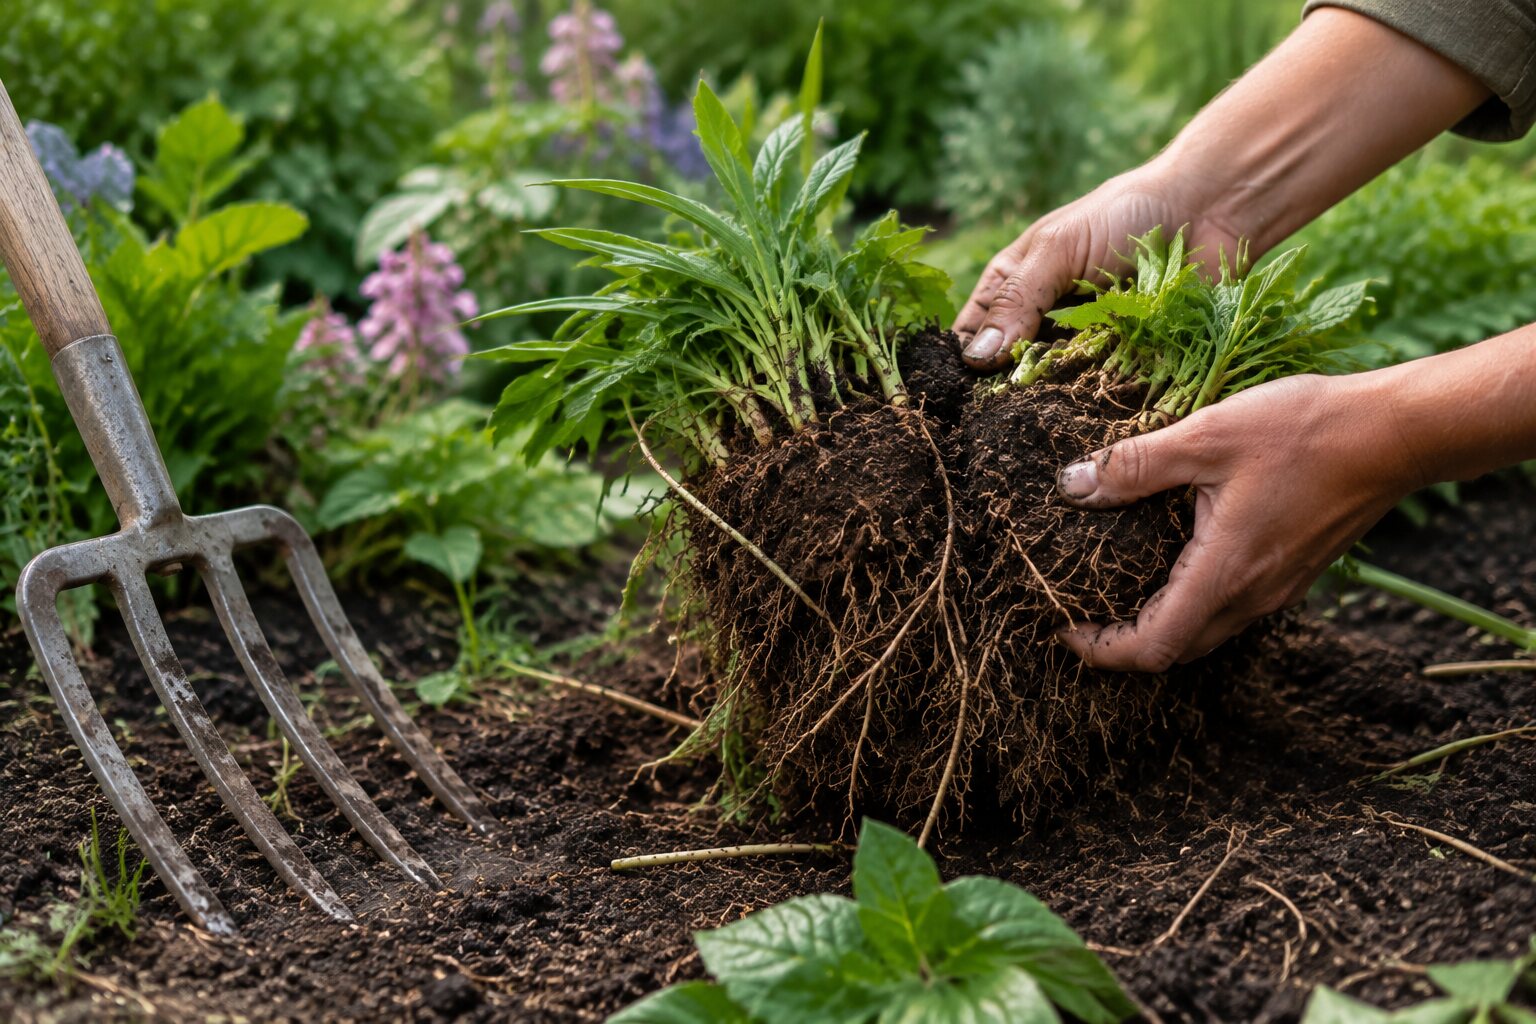
    Work around the clump with a fork or spade, beginning far enough from the crown to avoid cutting through the most useful roots. Loosen the plant from several sides before levering it from the ground.

    For valuable or brittle plants, two garden forks inserted back-to-back can sometimes separate a clump more gently than chopping through it immediately with a spade.

    3. Separate the healthiest sections

    Once lifted, examine the crown. Look for vigorous outer portions with healthy shoots and roots. Old, exhausted or dead material from the centre can usually be discarded.

    Loose-rooted plants may pull apart by hand. Dense crowns may need two forks, a sharp spade or a clean knife. Each new piece needs enough viable root and growing points to re-establish.

    Do not make divisions unnecessarily small

    It is tempting to turn one plant into as many pieces as possible. Very small divisions, however, take longer to recover and may be more vulnerable to drought or competition. Fewer substantial pieces usually establish faster and make a stronger visual impact in the border.

    4. Replant promptly

    Plant divisions at approximately the depth at which they were growing before. Spread roots naturally rather than forcing them into a narrow hole. Firm the soil gently so there are no large air pockets, then water thoroughly.

    If you are replanting part of the original clump in the same position, refresh the surrounding soil and remove exhausted or damaged material before returning the healthy division.

    5. Water during establishment

    Even drought-tolerant mature plants need reliable moisture while rebuilding a root system. Keep an eye on newly divided perennials through dry periods. The aim is consistently adequate moisture, not permanently saturated soil.

    Mulch, but leave the crown clear

    A layer of organic mulch around newly planted divisions can help moderate soil moisture and reduce weed competition. Avoid burying crowns that naturally sit at or near the soil surface.

    Signs that a perennial may need dividing

    • The centre of the clump is dying out while the edges remain vigorous.
    • Flowering has become noticeably weaker.
    • The plant has outgrown its allotted space.
    • Neighbouring plants are being crowded.
    • You want to repeat a successful plant elsewhere in the garden.

    Division is also a design tool

    Repeating a reliable perennial in several places can make a border feel more coherent. Division therefore does more than propagate plants: it lets you edit the planting, strengthen rhythm and redistribute plants towards the conditions where they perform best.

    Before replanting, it is worth revisiting Choosing plants for a sunny border and Planting a garden for the seasons.
  • How to take softwood cuttings

    How to take softwood cuttings

    Softwood cuttings are a straightforward way to make new plants from fresh young growth. Instead of waiting for seed, you take a short piece of healthy stem from an established plant and encourage it to make its own roots. When successful, the new plant is genetically identical to the parent.

    Late spring and early summer are particularly useful because many plants are producing vigorous new shoots that are mature enough to handle but have not yet become woody.

    What is a softwood cutting?

    Softwood is the fresh, flexible growth produced during the current season. It bends easily and is usually greener and less rigid than older stems. This young material can root quickly, but it also loses moisture rapidly after being removed from the parent plant. That is why careful handling matters.

    Choose the parent plant carefully

    Take material from a healthy, vigorous plant that is not obviously stressed by drought, pests or disease. Choose shoots that are typical of the plant rather than unusually weak or distorted growth.

    Morning can be a good time to collect cuttings because stems are generally well hydrated. If you cannot prepare them immediately, keep them cool and prevent them from drying out.

    What you need

    • Clean, sharp secateurs or a propagation knife
    • Small pots or modules with drainage
    • Fresh peat-free propagation or multipurpose compost
    • A pencil, dibber or similar tool for making planting holes
    • A clear cover or propagator where appropriate
    • Labels

    1. Take more material than you finally need

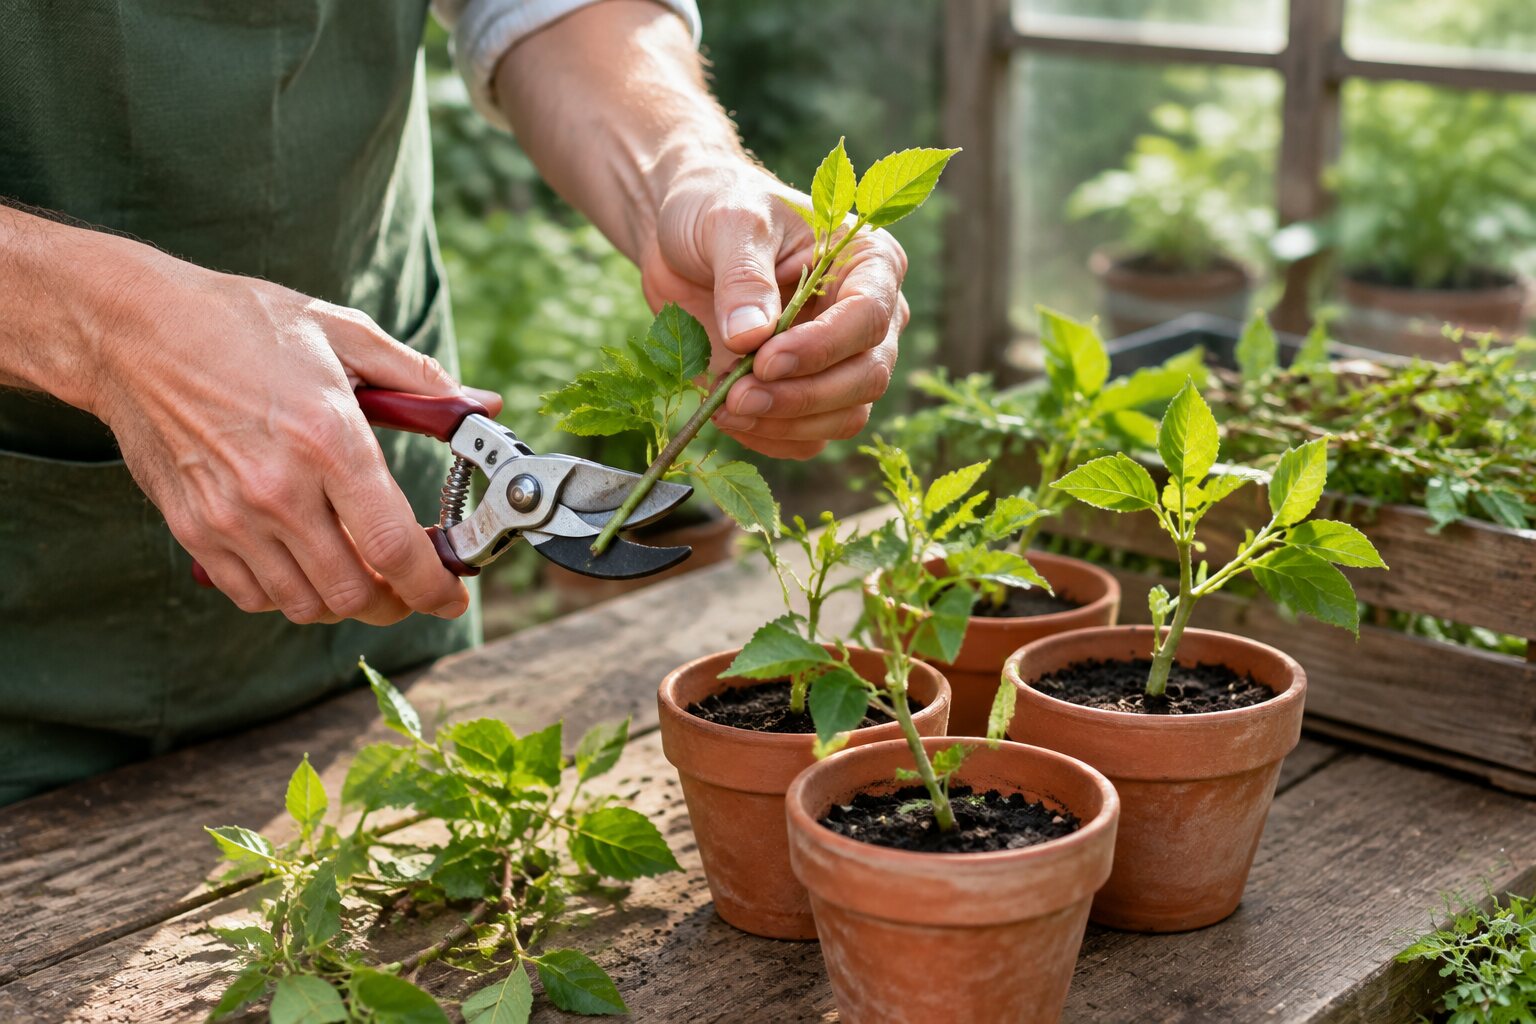
    Cut healthy non-flowering shoots a little longer than the finished cutting. This allows you to make the final cut neatly once you are working at the potting bench.

    If a shoot has begun forming flowers, choose another where possible. Root formation is the priority and a strongly flowering shoot is directing energy elsewhere.

    2. Prepare the cutting

    Trim the base with a clean cut just below a leaf joint or node where appropriate for the plant. Remove the lower leaves so that no foliage will be buried in the compost. Retain enough upper foliage for photosynthesis without leaving such a large leaf area that the cutting loses water excessively.

    Large leaves can sometimes be reduced, but avoid unnecessary cutting unless it genuinely helps manage moisture loss.

    3. Insert into moist compost

    Fill a pot with moist compost and make planting holes around the edge with a dibber. Insert each cutting carefully so the prepared lower stem is in contact with the compost. Firm lightly around it.

    Several cuttings can share a pot as long as their leaves are not tightly crowded together. Good airflow becomes increasingly important as they begin to grow.

    4. Reduce water loss without creating stagnant conditions

    A clear propagator lid or loose cover helps maintain humidity around cuttings that wilt easily. Keep the cover away from the foliage where possible and provide some ventilation. Constant condensation and stagnant air can encourage rotting.

    Place the pot in bright indirect light. Strong direct sun can overheat a covered pot and dehydrate cuttings surprisingly quickly.

    5. Keep the compost moist, not saturated

    The cutting has no established root system, so drying out is dangerous. At the same time, waterlogged compost reduces air around the base and can encourage decay. Check regularly rather than watering automatically on a fixed schedule.

    How do you know a cutting has rooted?

    Fresh new growth is encouraging, although it is not absolute proof. A very gentle resistance when the cutting is touched can indicate that roots have begun anchoring it. Do not repeatedly pull cuttings from the compost to check progress; that can damage the new roots you are trying to establish.

    Potting rooted cuttings on

    Once a cutting has formed a useful root system, move it into its own small pot with suitable compost. Water after potting and keep it sheltered while it adjusts. Gradually introduce stronger light and outdoor conditions rather than moving a protected cutting directly into an exposed border.

    Why softwood cuttings fail

    • The material dried out between cutting and preparation.
    • Stems were too soft, weak or already stressed.
    • The compost stayed saturated.
    • Covered pots overheated in direct sunlight.
    • Dirty tools or old compost introduced disease.
    • The chosen plant is better propagated by another method.

    Propagation becomes easier with repetition

    Take several cuttings rather than relying on one. Even experienced gardeners expect some losses, and a small batch makes it easier to see which material roots most reliably. Label the pot with the plant and date, and make a note of the results. That turns a simple technique into useful knowledge for future seasons.

    For growing media and establishment, see Peat-free compost in the garden.

  • How to plant bare-root roses and shrubs

    How to plant bare-root roses and shrubs

    Bare-root plants arrive without a pot and with little or no compost around their roots. They may look less impressive than container-grown plants at first glance, but during the dormant season they can be an efficient, economical way to establish roses, hedging plants, shrubs and trees.

    The important part is hidden below ground: healthy roots, careful planting and good contact with the surrounding soil. If those are right, a bare-root plant can establish quickly once growth resumes.

    When to plant bare-root material

    Bare-root plants are generally supplied while dormant, from autumn into winter and early spring. Plant when the soil is workable: not frozen, not waterlogged and not so dry that roots cannot establish properly.

    Autumn planting often gives roots time to begin settling before spring growth. In colder or very wet gardens, later winter or early spring planting can sometimes be more practical.

    Do not let the roots dry out

    Bare roots have no pot of compost protecting them. Unpack the plant promptly and keep the roots cool and moist. If planting is delayed briefly, follow the nursery’s storage instructions rather than leaving the roots exposed to air, sun or wind.

    Before planting, inspect the root system. Trim only roots that are genuinely damaged or broken, using clean sharp tools. Healthy roots should be preserved.

    Prepare the whole planting area

    Remove perennial weeds and loosen compacted soil around the intended planting position. A planting hole should be comfortably wide enough for the roots to spread naturally without being folded sharply back on themselves.

    Digging an extremely deep hole and filling it with rich material is usually unnecessary. The plant eventually needs to grow into the surrounding garden soil, so improving the wider area is more useful than creating an isolated pocket.

    1. Check the planting depth

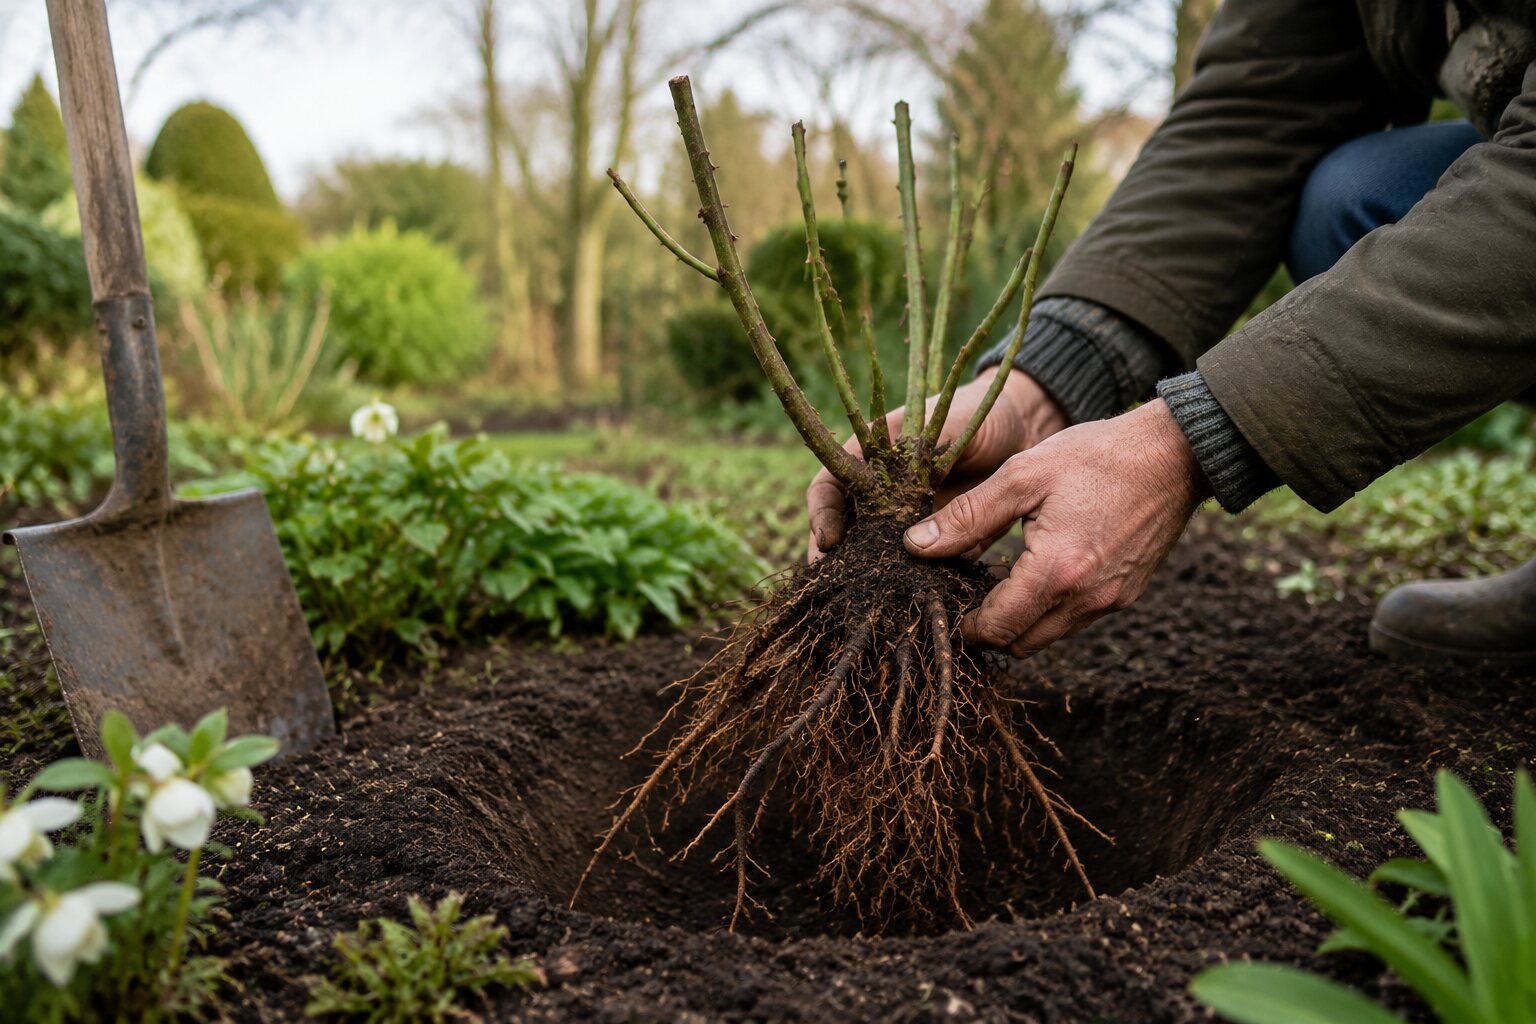
    Look for the previous soil mark on the stem where possible. Most shrubs should be replanted at approximately the depth they were growing before. Planting too deeply can reduce oxygen around the root system and bury stems that are not adapted to underground conditions.

    With grafted roses, recommendations for the graft union can vary according to rose type, climate and nursery guidance. Follow the supplier’s instructions rather than applying one rule to every rose. Around soil level, or slightly below where specifically recommended, is common practice.

    2. Spread the roots naturally

    Hold the plant upright in the hole and arrange the roots so they radiate into the soil rather than circling or turning sharply upwards. Enlarge the hole if necessary. Cutting healthy roots simply to fit a hole is the wrong way round.

    3. Backfill carefully

    Return soil around and between the roots, gently shaking or adjusting the plant where useful so large air pockets do not remain. Firm progressively with your hands or light foot pressure. The aim is good soil-to-root contact without compacting wet soil into a hard mass.

    4. Water after planting

    Watering settles soil around the roots and ensures the planting zone begins evenly moist. Do this even during the dormant season when conditions are relatively dry.

    Continue monitoring moisture during the first growing season. A plant that has begun producing leaves is losing water even if its new root system is still limited.

    5. Mulch the root zone

    A layer of suitable organic mulch can reduce evaporation, suppress competing weeds and gradually improve the surface soil. Keep mulch away from direct contact with stems and the crown.

    Should you add fertiliser?

    More feeding is not automatically better at planting time. Good soil preparation and moisture management are usually more important during initial establishment. Where fertiliser is appropriate, follow the requirements of the plant and product rather than adding a strong feed directly against bare roots.

    The first growing season

    Newly planted roses and shrubs should be checked regularly during dry spells. Deep, occasional watering that moistens the root zone is generally more useful than frequent superficial sprinkling.

    Keep weeds and vigorous neighbouring plants from competing immediately around the new plant. Do not be alarmed if top growth initially seems modest: establishment below ground is the priority.

    Common planting mistakes

    • Allowing roots to dry out before planting.
    • Forcing roots into a hole that is too narrow.
    • Planting significantly deeper than the original soil line without a specific reason.
    • Working waterlogged soil and destroying its structure.
    • Assuming winter rain means a newly planted root zone can never become dry.
    • Leaving grass or weeds to compete directly around the plant.

    Choose for the site before you plant

    Good planting technique cannot compensate indefinitely for the wrong plant in the wrong conditions. Light, soil moisture, mature size and exposure should all be considered before ordering. Bare-root planting works best when it is the final step in a good decision rather than an attempt to rescue a poor one.

    See also Choosing plants for a sunny border and Planting a garden for the seasons.
  • How to grow salad leaves in containers

    How to grow salad leaves in containers

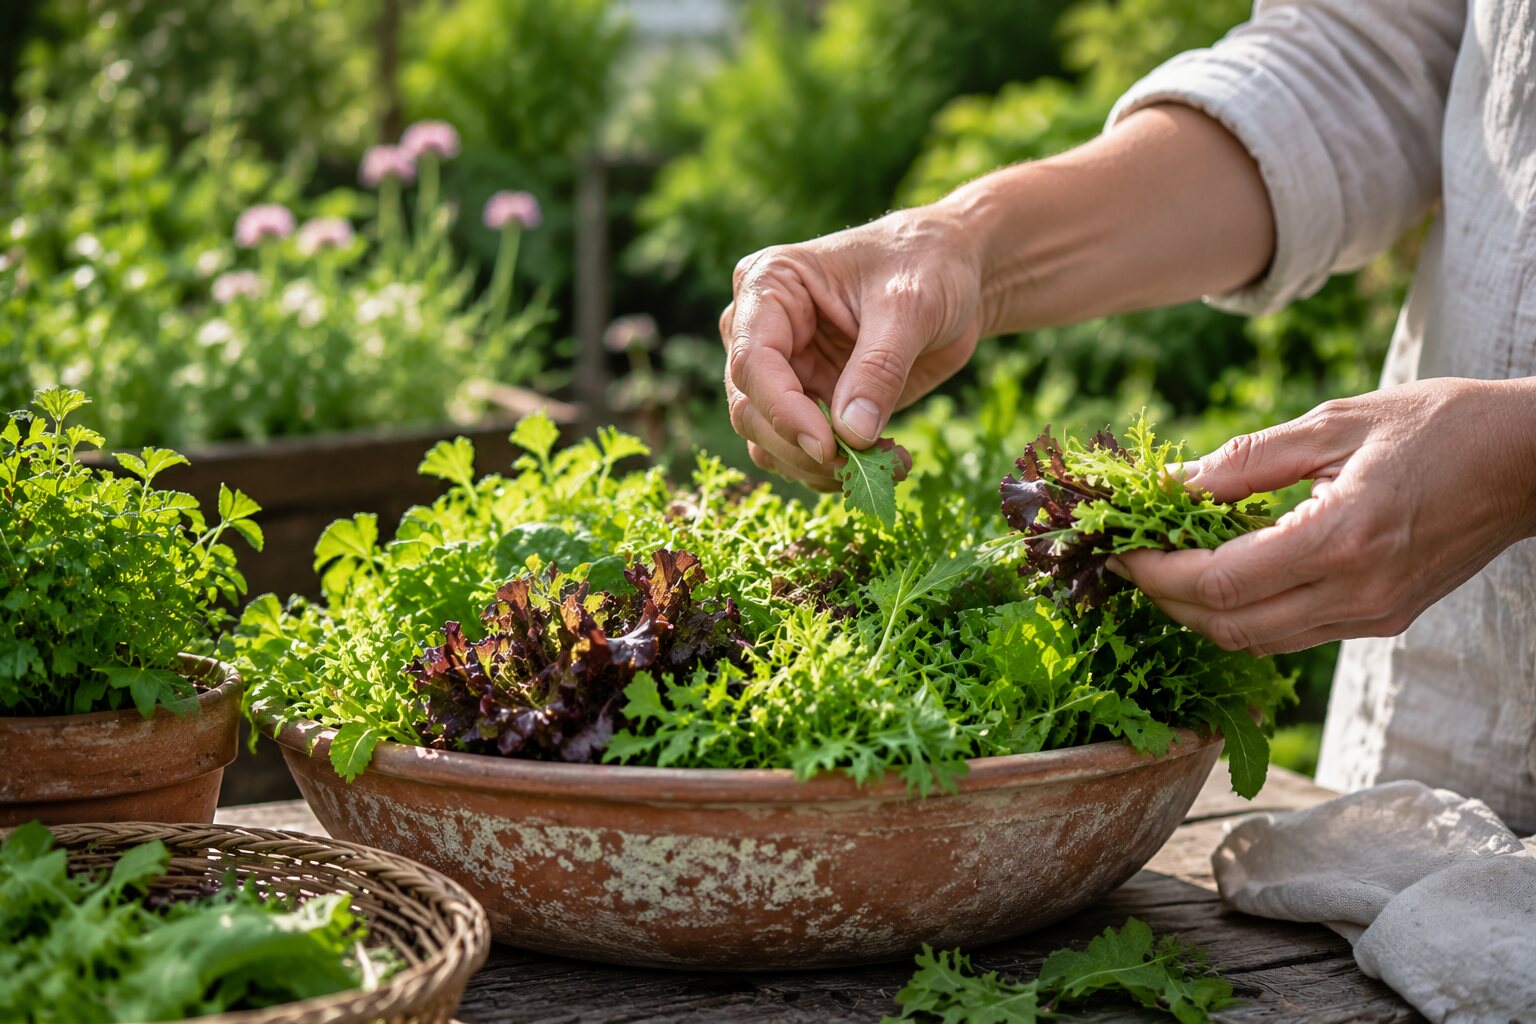
    Salad leaves are among the most useful crops for container growing. They need relatively little space, grow quickly and can be harvested over a long period if sowings are staggered. A pot close to the kitchen can also be more convenient than a larger vegetable bed for something harvested in small amounts several times a week.

    The main challenge is consistency. Salad leaves grow best when they are not repeatedly stressed by drying out, overcrowding or excessive heat.

    Choose leaves for the season

    Loose-leaf lettuces, rocket, mizuna, mustard leaves and mixed baby-leaf seed are all suitable for containers, but they do not behave identically. Some tolerate cool conditions well, while others become more peppery or bolt quickly in hot weather.

    Rather than sowing one large container for the whole year, use smaller repeated sowings and adjust the varieties to the season.

    The container matters less than the drainage

    Window boxes, troughs and ordinary pots can all work. The container should be deep enough to hold a useful volume of compost and must have open drainage holes. Very shallow pots dry rapidly and leave little margin for error during warm weather.

    Larger containers are generally easier to keep evenly moist than very small ones.

    Use fresh peat-free compost

    Fill the container with a good-quality peat-free multipurpose compost. Leave a small watering space below the rim so that water can soak in rather than immediately running over the edge.

    Old exhausted compost from a previous heavily fed crop is less predictable. Where compost is reused, understand what grew in it before and refresh or amend it appropriately.

    1. Sow thinly

    Dense sowing may create an impressive green surface initially, but overcrowded seedlings compete quickly. Scatter seed as evenly as possible or sow in short rows if that makes thinning and harvesting easier.

    Cover the seed according to packet instructions, then water gently so the seed remains where you put it.

    2. Keep the compost evenly moist

    Young salad leaves have shallow root systems. Containers can dry much faster than garden soil, especially in wind or sun. Check the compost with your fingers rather than judging only from the surface colour.

    Water thoroughly when needed, allowing excess water to drain. Constantly saturated compost is no better than repeatedly dry compost.

    3. Thin before plants compete badly

    For baby leaves, plants can remain relatively close, but even then they need enough airflow and root space to grow cleanly. Thinnings from many edible crops can be used as a small first harvest if they are suitable to eat.

    4. Harvest little and often

    For cut-and-come-again crops, take outer leaves or cut above the growing point so the plant can produce again. Do not remove every leaf from a weak young plant. Frequent moderate harvesting usually keeps the container productive for longer.

    Make succession sowing the default

    The simplest way to avoid a sudden glut followed by an empty pot is to sow another small batch every few weeks during suitable growing conditions. Keep two or three containers at different stages rather than expecting one sowing to remain perfect indefinitely.

    Summer needs a different approach

    Very hot containers dry quickly and many salad plants respond to heat and stress by bolting. During summer, move pots away from the hottest reflected heat where practical and provide reliable moisture. Afternoon shade can be useful for crops that struggle in intense heat.

    Choose varieties described as suitable for warmer conditions and harvest regularly rather than leaving plants to become old and coarse.

    Cool-season salads

    Late-summer and early-autumn sowings can extend the season considerably, especially where containers can be moved to a sheltered position. Growth slows as light levels fall, so crops sown too late may remain small for a long period.

    A cold frame or unheated greenhouse can offer useful protection, but ventilation remains important during mild weather.

    Watch for common problems

    • Leaves wilt repeatedly: the container may be too small or drying too quickly.
    • Plants bolt rapidly: heat, drought stress or simply maturity may be the cause.
    • Seedlings disappear: inspect for slugs and snails, especially around pots at ground level.
    • Growth is pale and weak: overcrowding, exhausted compost or poor light may be limiting growth.
    • Leaves become very peppery: some crops naturally intensify with age, heat and dry conditions.

    Keep the system simple

    Container salads work best as a routine rather than a single project: sow a little, water consistently, harvest frequently and start the next pot before the current one is finished. With a few containers in rotation, even a small terrace or doorstep can provide useful fresh leaves for much of the growing season.

    Continue with Growing herbs close to the kitchen, Growing vegetables at home and Why raised beds remain useful.

  • Planting a garden for the seasons

    A garden is easier to enjoy throughout the year when its planting is not designed around a single month. Flowers are important, but foliage, bark, berries, seed heads and the shape of plants all contribute to seasonal interest.

    Begin with structure

    Trees, hedges and shrubs form the framework of a garden. Evergreens provide winter presence, while deciduous plants can offer blossom, autumn colour or attractive bare branches. A mixture usually gives a more natural rhythm through the year.

    Spread the flowering season

    Choose plants that flower at different times rather than concentrating everything in late spring and early summer. Bulbs can start the season, followed by perennials and shrubs, with later flowers carrying colour into autumn.

    Remember foliage

    Leaves occupy the garden for much longer than most flowers. Different greens, silver foliage, grasses and plants with strong leaf shapes can keep a border interesting between flowering periods.

    Leave something for winter

    Seed heads and dried grasses can remain attractive after growth has stopped. Berries provide colour and food for birds. Cutting everything to ground level in autumn can remove much of this winter character.

    Observe before changing

    Photographs or simple notes taken through the year can reveal periods when a border has very little interest. Add plants to fill those gaps rather than redesigning the whole area.

    A garden for the seasons develops over time. The aim is not constant colour, but a garden that always has something worth noticing.

  • Choosing plants for a sunny border

    A sunny border gives you plenty of choice, but it is still worth looking carefully at the conditions before buying plants. Sun alone does not tell the whole story.

    How much sun is there?

    A place that receives direct sun for much of the day can become hot and dry in summer. South-facing walls can make this effect stronger. Other sunny borders may still have cool, moisture-retentive soil.

    Choose plants for the soil

    Lavender, rosemary and many Mediterranean plants prefer free-draining ground. Roses, hardy geraniums and many traditional border plants are more forgiving, provided the soil is reasonably fertile and does not stay waterlogged.

    Think about height

    Put taller plants where they will not hide smaller ones. In a border viewed mainly from one side, this usually means taller plants towards the back. Repeating a few plants along the border often gives a calmer result than using a different plant in every space.

    Leave room to grow

    Young plants can make a newly planted border look empty. Avoid filling every gap immediately. Most perennials and shrubs need time and space to reach their natural size.

    A good sunny border is not simply a collection of plants that like sunshine. Soil, height, flowering period and final size are just as important.

  • Planting bulbs for spring

    Spring bulbs are one of the easiest ways to bring early colour into the garden. Most are planted in autumn, when the soil is still workable but the main growing season is coming to an end.

    Choose bulbs for the place

    Tulips usually perform best in sunny, well-drained positions. Daffodils are more tolerant and can work well in borders, grass and beneath deciduous trees. Crocuses and smaller bulbs are useful near paths and at the front of beds.

    Plant at the right depth

    As a general guide, bulbs are planted at roughly two to three times their own depth, although it is worth checking the instructions for individual varieties. Plant with the pointed end upwards where this is obvious.

    Drainage matters

    Many bulbs dislike sitting in wet soil through winter. If the ground is heavy, choose a better-drained position or improve the planting area. Containers are another option, provided excess water can escape.

    Plant in groups

    Bulbs often look better in informal groups than in single straight lines. In borders, planting several bulbs together creates a stronger patch of colour when they flower.

    After flowering

    Remove faded flowers if desired, but leave the foliage until it has yellowed naturally. The leaves help the bulb store energy for the following year.

    A little work in autumn can produce some of the first colour of the new gardening season.

  • Why raised beds remain useful

    Raised beds have been popular in vegetable gardens for many years, and for good reason. They can make a growing area easier to organise and allow you to improve the soil in a defined space.

    Better control of the soil

    If the existing garden soil is poor, compacted or difficult to work, a raised bed can be filled with a more suitable mixture. Compost and other organic matter can then be added exactly where crops are growing.

    Easier access

    A raised growing surface reduces the amount of bending needed for sowing, weeding and harvesting. The exact height depends on the gardener and on the construction, but even a modest raised edge can make a difference.

    Good drainage

    Raised beds can drain more freely than heavy surrounding soil. This can be useful in wet gardens, although the same bed may need more watering during hot, dry weather.

    Keep the width practical

    A bed should be narrow enough to reach the centre without standing on the soil. This helps avoid compaction. Paths between beds should also be wide enough for comfortable access and, where necessary, a wheelbarrow.

    Choose durable materials

    Timber is common and straightforward to work with. Brick, stone and metal can last longer and give a more permanent appearance. Whatever material is used, the construction should be strong enough to hold wet soil without bowing.

    Raised beds are not essential for successful growing, but they are a practical solution where access, soil quality or garden organisation can be improved.

  • Growing herbs close to the kitchen

    Herbs are useful garden plants, but they are most useful when they are easy to reach. A small bed or a few pots near the kitchen door can be better than a large herb garden at the far end of the garden.

    Choose the herbs you actually use

    Parsley, chives, thyme, rosemary and mint are good starting points for many kitchens. Basil can also be grown outside in warm weather, although it prefers more shelter and warmth than hardy herbs.

    Use pots where necessary

    Pots are useful on a terrace or beside a back door. They also make it easier to control vigorous plants. Mint, in particular, can spread quickly in open ground and is often easier to manage in a container.

    Sun and drainage

    Many Mediterranean herbs prefer a sunny position and soil that drains freely. Rosemary and thyme dislike sitting in wet ground. Parsley and chives are usually happier with a little more moisture.

    Pick regularly

    Regular harvesting encourages many herbs to produce fresh growth. Take small amounts when you need them rather than allowing plants to become large and woody before cutting them back.

    A kitchen herb garden can be very simple. Put a few reliable plants in the right place and they are likely to be used much more often.

  • Growing vegetables at home

    You do not need a large vegetable garden to grow some food at home. A sunny corner, a raised bed or several containers can provide enough space for a useful selection of vegetables and herbs.

    Start with easy crops

    Salad leaves, radishes, courgettes, beans and many herbs are straightforward choices for a first season. Tomatoes are also rewarding where there is enough sun and warmth, although they need regular watering and feeding.

    Use the space you have

    Vegetables can be grown in traditional rows, raised beds or containers. Deep pots and growing bags are useful on patios. Climbing beans and some other crops use vertical space and can produce a good harvest from a relatively small area.

    Good soil matters

    Vegetables grow quickly and need fertile soil. Add well-rotted compost or other organic matter before planting where necessary. Containers need a suitable growing medium and should have drainage holes.

    Sow a little at a time

    It is tempting to sow a whole packet of seed at once. For quick crops such as lettuce and radishes, smaller sowings every few weeks can provide a steadier harvest.

    Water regularly

    Young plants and vegetables in containers can dry quickly. Check them during warm weather and water the soil thoroughly when needed rather than giving a light sprinkle.

    Growing vegetables at home is mostly a matter of starting on a manageable scale. A small productive patch is easier to look after and can always be expanded next year.