Softwood cuttings are a straightforward way to make new plants from fresh young growth. Instead of waiting for seed, you take a short piece of healthy stem from an established plant and encourage it to make its own roots. When successful, the new plant is genetically identical to the parent.
Late spring and early summer are particularly useful because many plants are producing vigorous new shoots that are mature enough to handle but have not yet become woody.
What is a softwood cutting?
Softwood is the fresh, flexible growth produced during the current season. It bends easily and is usually greener and less rigid than older stems. This young material can root quickly, but it also loses moisture rapidly after being removed from the parent plant. That is why careful handling matters.
Choose the parent plant carefully
Take material from a healthy, vigorous plant that is not obviously stressed by drought, pests or disease. Choose shoots that are typical of the plant rather than unusually weak or distorted growth.
Morning can be a good time to collect cuttings because stems are generally well hydrated. If you cannot prepare them immediately, keep them cool and prevent them from drying out.
What you need
- Clean, sharp secateurs or a propagation knife
- Small pots or modules with drainage
- Fresh peat-free propagation or multipurpose compost
- A pencil, dibber or similar tool for making planting holes
- A clear cover or propagator where appropriate
- Labels
1. Take more material than you finally need
Cut healthy non-flowering shoots a little longer than the finished cutting. This allows you to make the final cut neatly once you are working at the potting bench.
If a shoot has begun forming flowers, choose another where possible. Root formation is the priority and a strongly flowering shoot is directing energy elsewhere.
2. Prepare the cutting
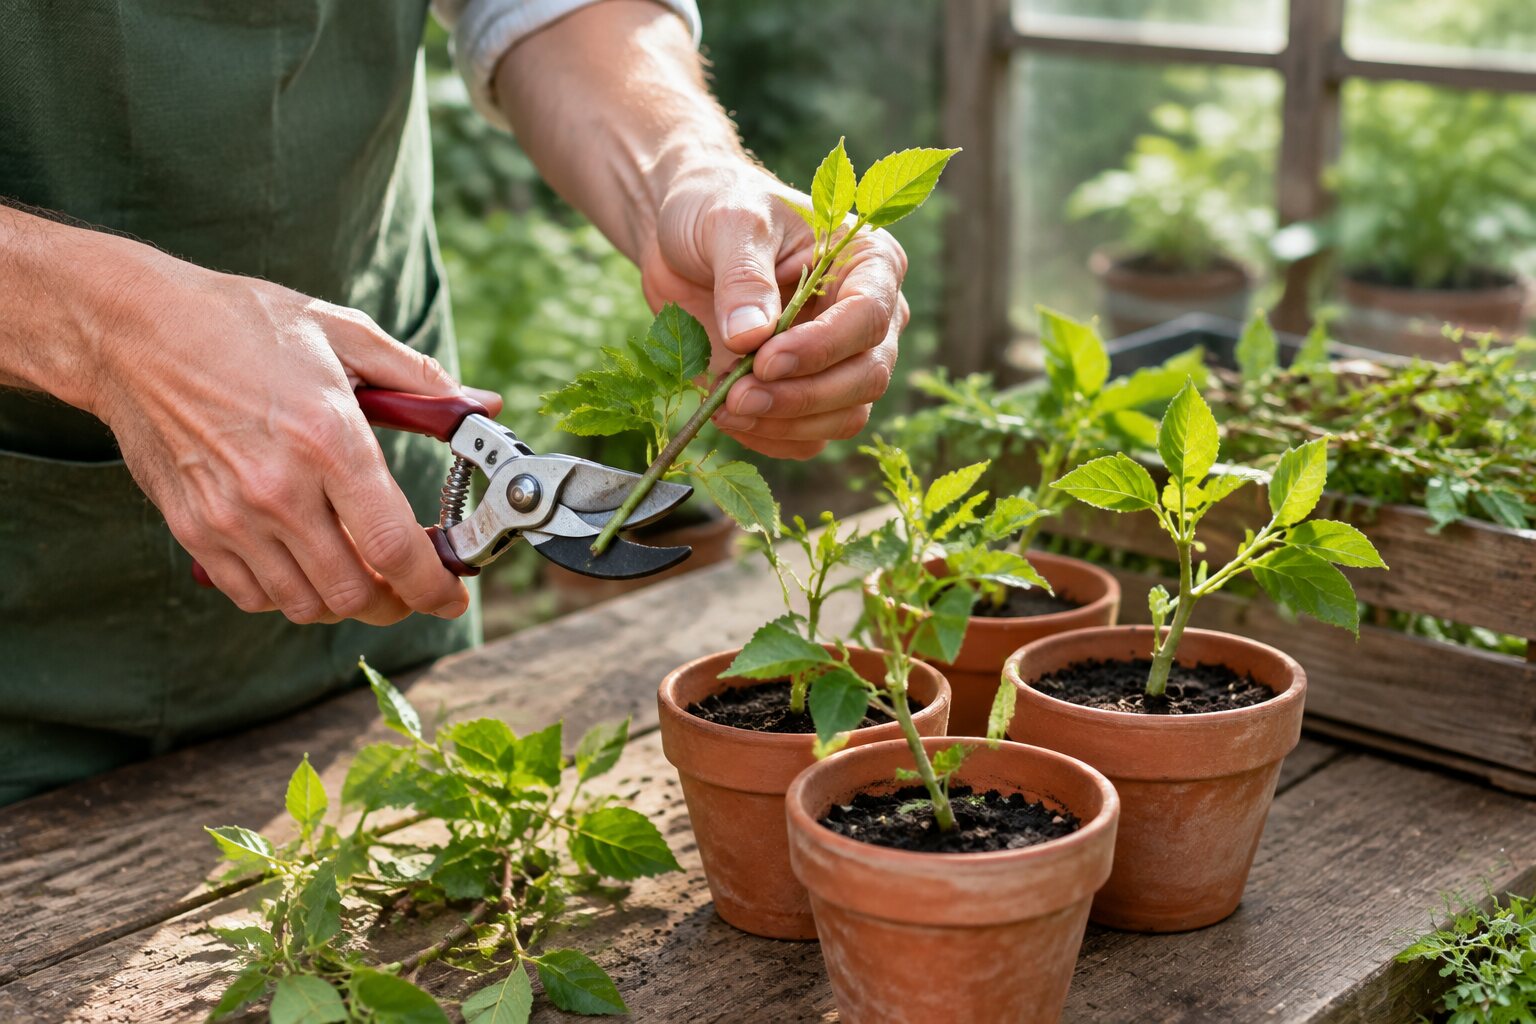
Trim the base with a clean cut just below a leaf joint or node where appropriate for the plant. Remove the lower leaves so that no foliage will be buried in the compost. Retain enough upper foliage for photosynthesis without leaving such a large leaf area that the cutting loses water excessively.
Large leaves can sometimes be reduced, but avoid unnecessary cutting unless it genuinely helps manage moisture loss.
3. Insert into moist compost
Fill a pot with moist compost and make planting holes around the edge with a dibber. Insert each cutting carefully so the prepared lower stem is in contact with the compost. Firm lightly around it.
Several cuttings can share a pot as long as their leaves are not tightly crowded together. Good airflow becomes increasingly important as they begin to grow.
4. Reduce water loss without creating stagnant conditions
A clear propagator lid or loose cover helps maintain humidity around cuttings that wilt easily. Keep the cover away from the foliage where possible and provide some ventilation. Constant condensation and stagnant air can encourage rotting.
Place the pot in bright indirect light. Strong direct sun can overheat a covered pot and dehydrate cuttings surprisingly quickly.
5. Keep the compost moist, not saturated
The cutting has no established root system, so drying out is dangerous. At the same time, waterlogged compost reduces air around the base and can encourage decay. Check regularly rather than watering automatically on a fixed schedule.
How do you know a cutting has rooted?
Fresh new growth is encouraging, although it is not absolute proof. A very gentle resistance when the cutting is touched can indicate that roots have begun anchoring it. Do not repeatedly pull cuttings from the compost to check progress; that can damage the new roots you are trying to establish.
Potting rooted cuttings on
Once a cutting has formed a useful root system, move it into its own small pot with suitable compost. Water after potting and keep it sheltered while it adjusts. Gradually introduce stronger light and outdoor conditions rather than moving a protected cutting directly into an exposed border.
Why softwood cuttings fail
- The material dried out between cutting and preparation.
- Stems were too soft, weak or already stressed.
- The compost stayed saturated.
- Covered pots overheated in direct sunlight.
- Dirty tools or old compost introduced disease.
- The chosen plant is better propagated by another method.
Propagation becomes easier with repetition
Take several cuttings rather than relying on one. Even experienced gardeners expect some losses, and a small batch makes it easier to see which material roots most reliably. Label the pot with the plant and date, and make a note of the results. That turns a simple technique into useful knowledge for future seasons.
For growing media and establishment, see Peat-free compost in the garden.