
Category: Digging & Planting

  • How to choose a garden trowel

    How to choose a garden trowel

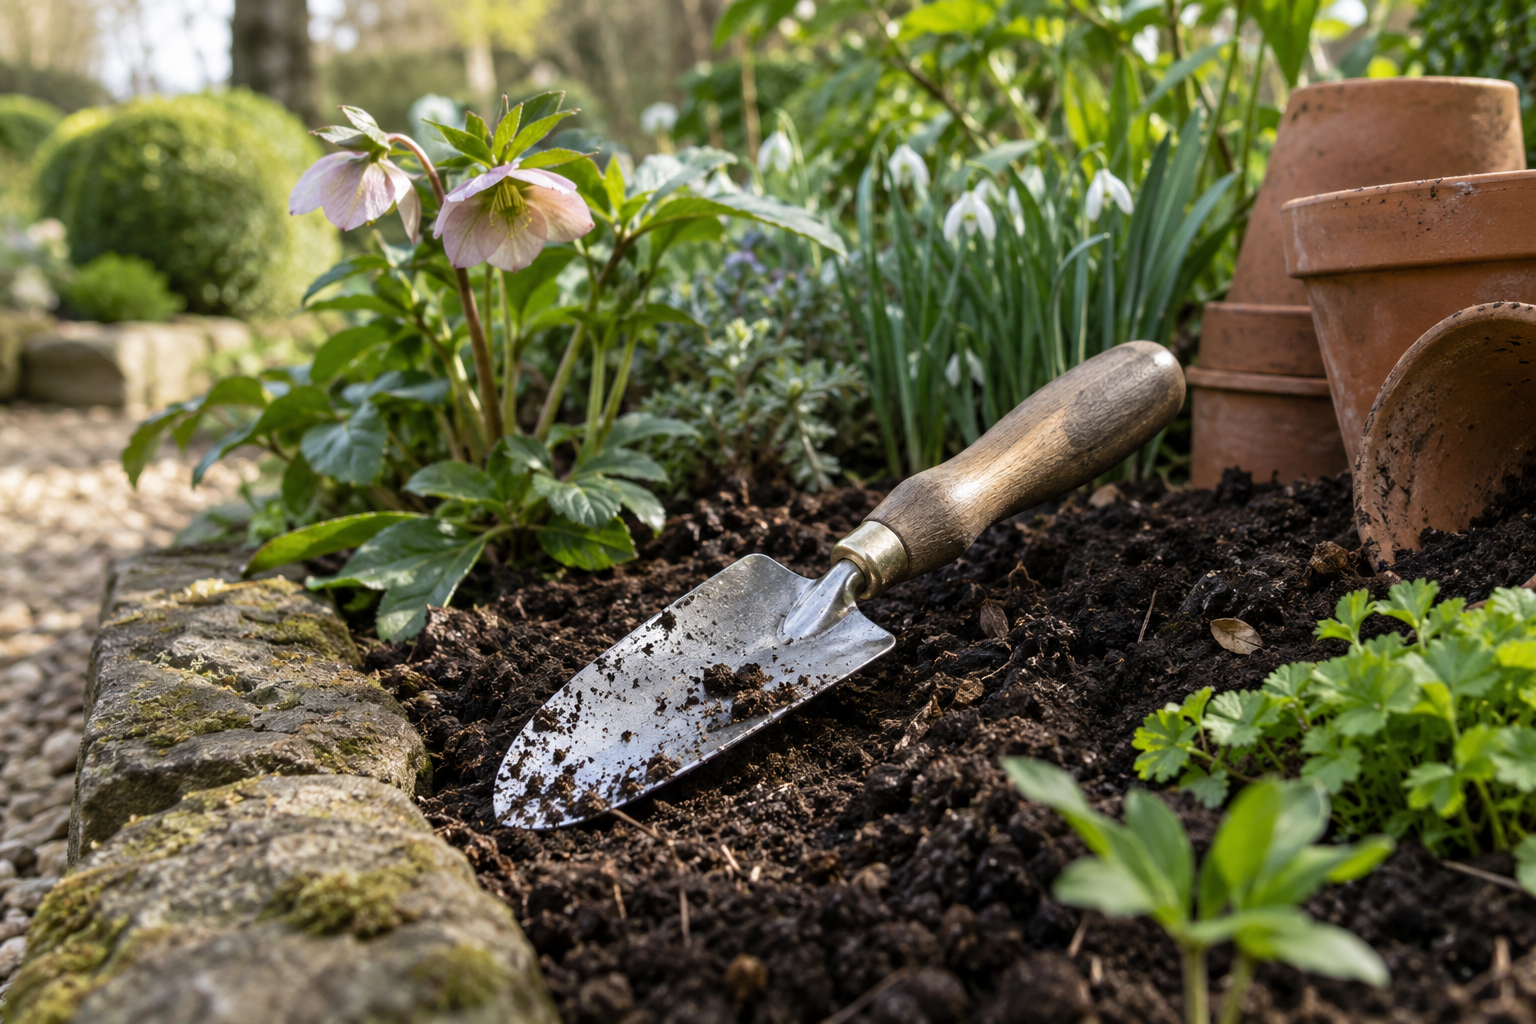
    A garden trowel is one of the simplest tools in the shed, but it is also one of the most frequently used. Planting small perennials, bulbs and bedding plants, filling containers and working compost into a planting hole all put slightly different demands on the same small hand tool.

    A good trowel does not need complicated features. It needs a useful blade shape, enough strength for the soil you garden in and a handle that remains comfortable when the work takes longer than expected.

    Start with the work you actually do

    A wide scoop-shaped trowel is useful for moving compost and making generous planting holes. A narrower blade is easier to place between established plants and can penetrate firmer soil with less resistance.

    If most of your gardening happens in containers, weight and control may matter more than brute strength. If you regularly work in dense clay, rigidity and a strong connection between blade and handle become more important.

    Blade shape

    A traditional pointed blade is versatile because the tip can open soil while the wider section moves a useful amount of material. Very rounded blades scoop well but may be less effective in firm ground.

    Extremely narrow blades are useful for precision planting and weeds, but they are not necessarily the best general-purpose trowel.

    Blade material

    Stainless steel resists corrosion well and is easy to clean. Carbon steel can be extremely strong and take a useful working edge but needs more attention after use because bare steel can rust.

    Thickness alone does not determine strength. The shape of the blade, the quality of the steel and the way the shank is formed all contribute to how the tool behaves under pressure.

    Look closely at the blade-to-handle connection

    This is where cheap hand tools often fail. A thin spot, weak weld or short tang can loosen after repeated levering.

    A trowel intended for demanding soil should have a substantial connection between the blade and handle. Ideally, the tool should feel like one continuous structure rather than two pieces simply attached to each other.

    Handle length and grip

    Very short handles offer control but can require more wrist effort. A slightly longer handle provides useful leverage. Too long, however, and a hand trowel begins to lose the precision that makes it useful.

    Hold the tool before buying where possible. The handle should sit naturally in the hand without sharp edges or an oversized grip forcing the fingers apart.

    Wood or synthetic handles?

    Both can work well. A shaped hardwood handle feels warm and traditional and can last for many years when kept dry and maintained. Modern synthetic handles can be highly durable and need little maintenance.

    The quality of the shape and construction matters more than the material alone.

    Weight is a balance

    A very light trowel can feel pleasant initially but may flex in difficult ground. An unnecessarily heavy one becomes tiring during repetitive planting.

    A good general-purpose tool feels substantial enough to trust without making every planting job harder.

    Depth markings are useful, but secondary

    Some trowels include measurements on the blade for planting depth. These can be convenient for bulbs and young plants, but they should not be the main reason for choosing a tool.

    A strong, comfortable trowel without markings is more useful than a weak one with a ruler printed on it.

    Do not use a trowel as a crowbar

    Even a strong hand tool has limits. Levering large stones, cutting thick woody roots or forcing the blade deep into compacted ground can damage the tool and your wrist.

    Use a fork, spade, root saw or other appropriate tool when the job becomes larger than the trowel.

    A good trowel should become familiar

    The best hand tools often disappear into the work. You stop thinking about the trowel and concentrate on the plant, the soil and the job in front of you. That is a better measure of quality than a long list of features.

    For broader tool care, read Keeping garden tools in good condition. For seasonal tool use, see A few useful tools for summer gardening.
  • How to use a garden fork properly

    How to use a garden fork properly

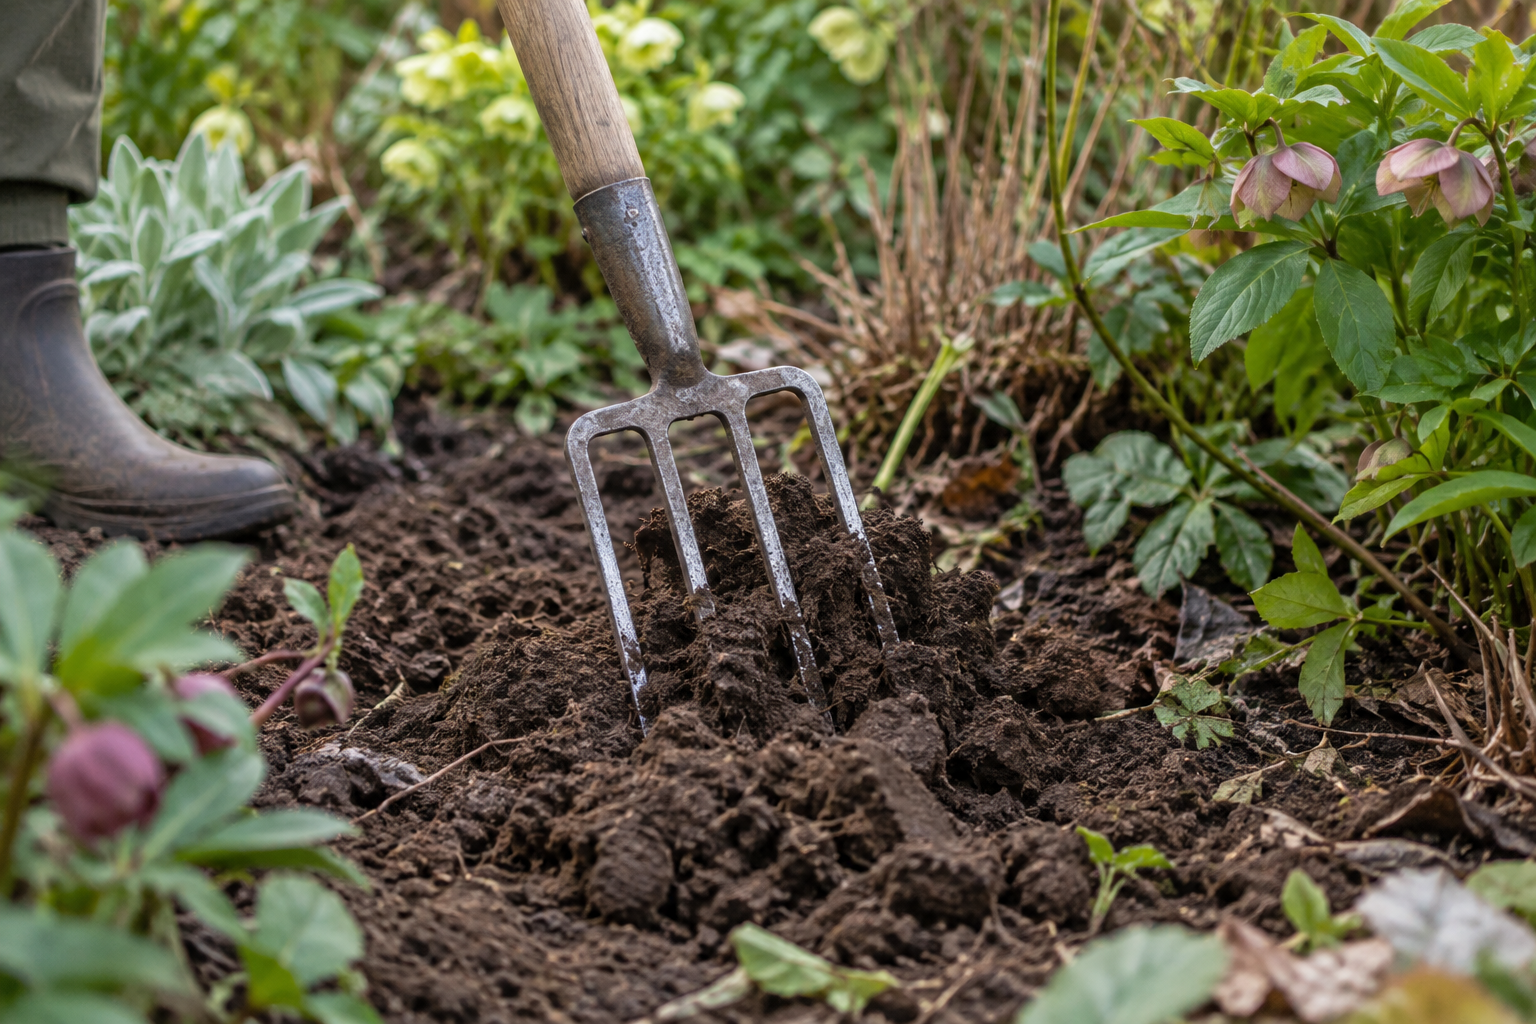
    A garden fork is often treated as a rough digging tool, but its real strength is that it can loosen soil with less cutting and turning than a spade. Used well, it is useful for lifting plants, breaking compacted ground, aerating soil and moving organic material.

    The important part is working with the tines rather than using the handle as a lever beyond what the tool can safely tolerate.

    Garden fork or border fork?

    A full-sized garden fork is suited to larger areas and heavier work. A border fork is smaller and easier to control between established plants.

    If you mainly work in densely planted borders, the smaller tool may be more useful than a large fork that damages neighbouring roots and foliage simply because there is not enough room to use it properly.

    Use your weight, not only your arms

    Place the tines where you want them to enter the soil and use your foot on the tread where the fork provides one. Keep your body balanced and let your weight help push the fork into the ground.

    Repeatedly forcing a fork into resistant ground using only your arms is tiring and increases the temptation to twist the handle excessively.

    Loosening soil without turning it completely

    Insert the tines vertically, then draw the handle back slightly to create cracks and air spaces. Move a short distance and repeat.

    This can loosen compacted ground without completely inverting the soil profile.

    Do not work saturated soil

    Forking very wet clay can do more harm than good. The soil smears and compacts, and foot traffic damages its structure.

    Wait until the ground is moist but workable rather than sticky enough to cling heavily to tools.

    Lifting established plants

    A fork is particularly useful when lifting perennials because the tines can move through soil with less cutting than a spade blade.

    Begin outside the main crown and work around the plant gradually. Loosen the root ball from several sides rather than trying to lever the whole plant out from one position.

    Use two forks for dividing some perennials

    Dense clumps can sometimes be separated with two forks inserted back-to-back into the root mass. Push the handles towards each other so the tines move apart and separate the plant.

    This works best with suitable fibrous-rooted perennials. It is not appropriate for every plant.

    Aerating compacted areas

    On a small lawn, a garden fork can create aeration holes in heavily trafficked areas. Push the tines into the soil at regular intervals and gently ease them back.

    For large lawns or very severe compaction, specialist aeration equipment is more efficient.

    Moving compost and mulch

    A fork is often better than a spade for moving coarse compost, manure and fibrous mulch because the tines enter the material easily.

    Choose the correct fork for the job: a broad manure or compost fork is more efficient for loose material than a narrow digging fork.

    Avoid excessive levering

    If the tines are buried beneath a large stone or thick root, forcing the handle backwards can bend tines or damage the shaft.

    Reposition the fork, loosen the surrounding soil and use an appropriate tool for the obstruction.

    Keep the tines clean

    Soil left packed between the tines holds moisture against the metal. Brush or wash the fork clean after heavy use and let it dry before storage.

    The fork is a soil-reading tool

    Used slowly, a garden fork tells you a great deal about the ground. You feel compacted layers, roots, stones and changes in soil structure through the handle. That feedback helps you work more carefully than simply forcing a blade through everything in the way.

    For improving difficult ground, see A simple guide to garden compost. For tool maintenance, read Keeping garden tools in good condition.