Category: Soil, Compost & Feeding

  • How to improve heavy clay soil

    How to improve heavy clay soil

    Heavy clay soil can be difficult to work, but it is not poor soil by definition. Clay particles hold nutrients and water well, which can make clay surprisingly fertile. The challenge is structure: when wet it can become sticky and compacted, while during dry weather it may become hard and cracked.

    Improving clay is therefore less about replacing the soil and more about helping it form a better structure over time.

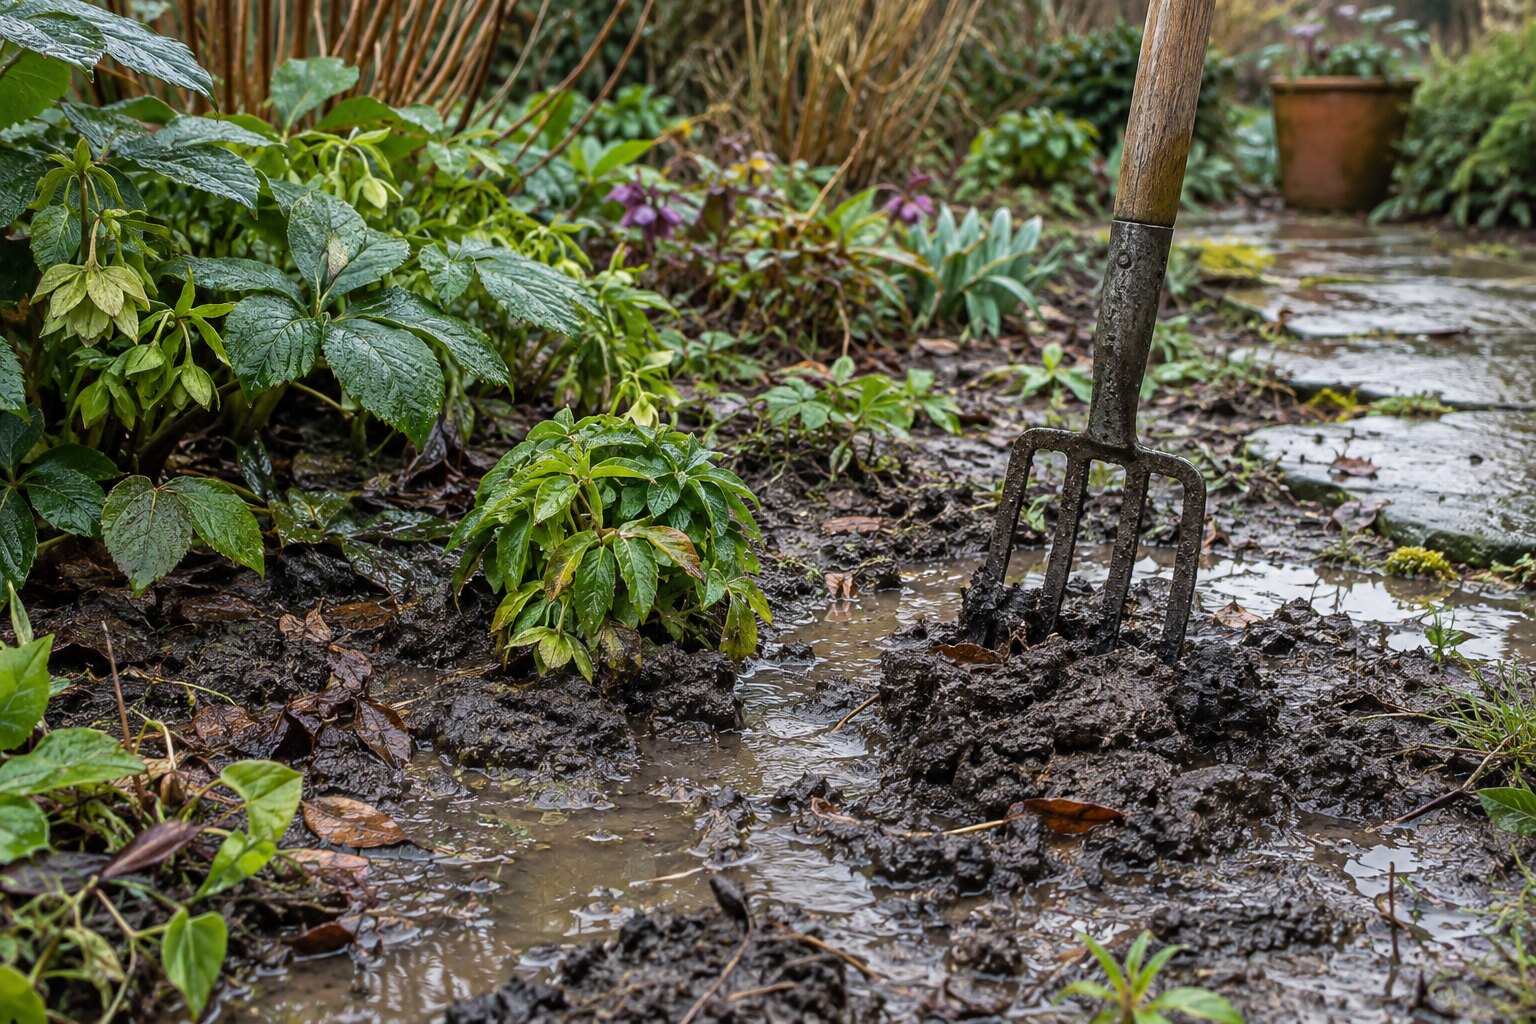
    Do not work clay when it is saturated

    One of the fastest ways to damage clay soil is to dig or walk on it when it is very wet. Pressure squeezes out air spaces and can turn the surface into dense slabs.

    Wait until the soil is moist but no longer sticky enough to smear heavily on tools and boots.

    Organic matter is the main long-term tool

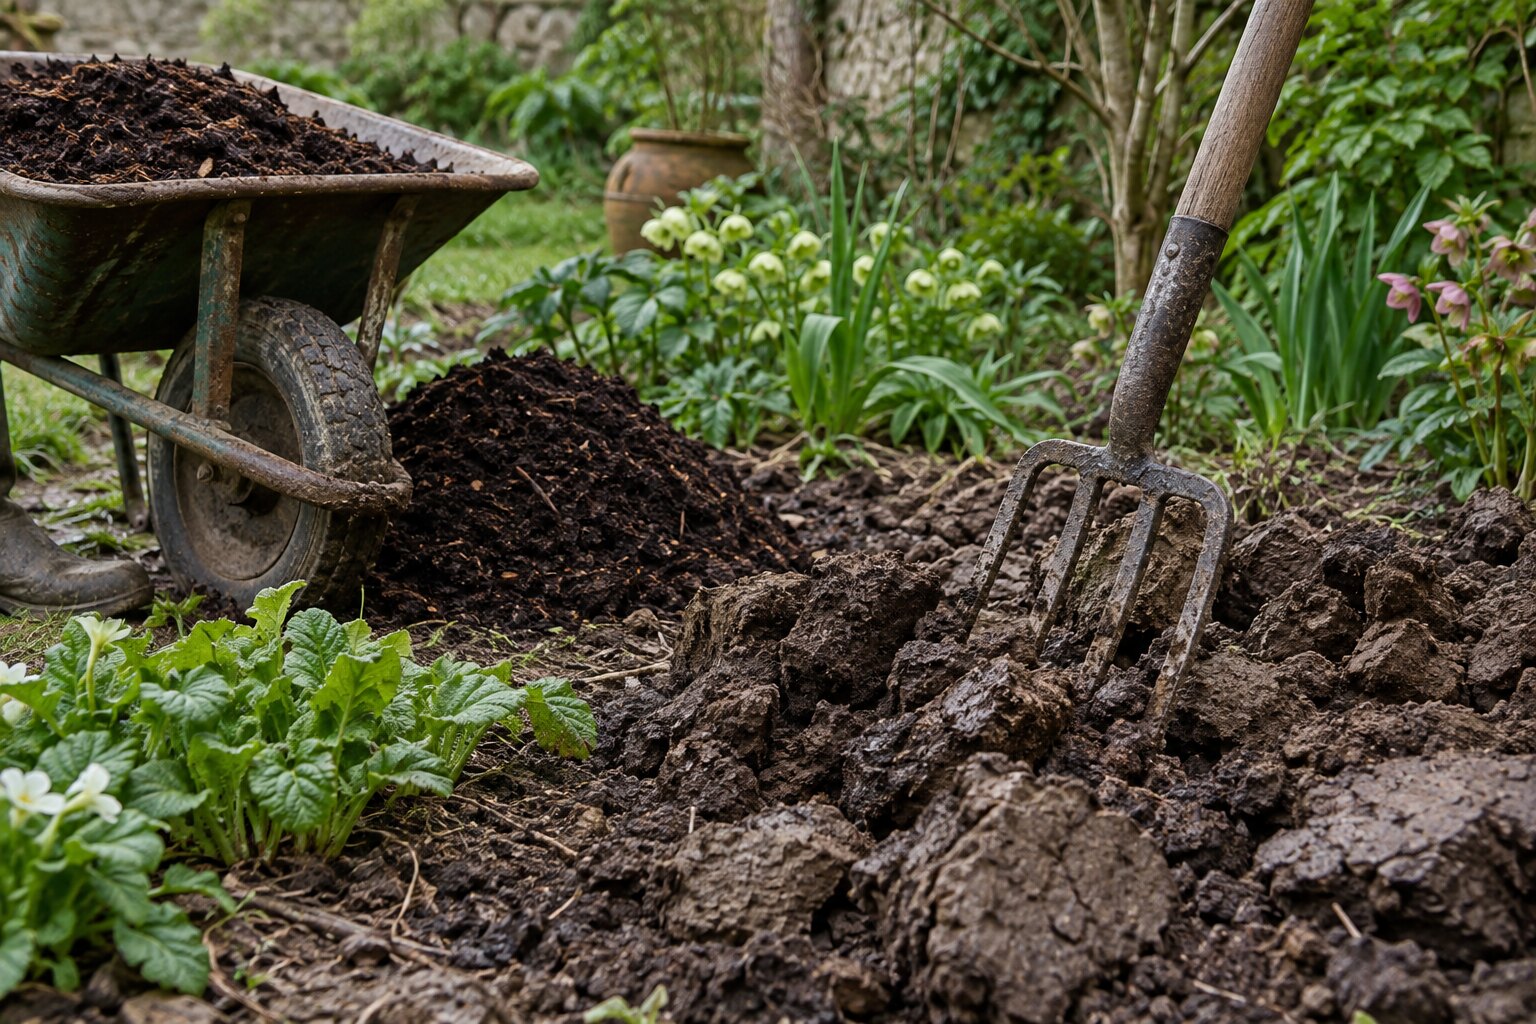
    Well-rotted compost, leaf mould and other suitable organic materials can improve the way clay aggregates into crumbs. This creates more spaces for air and water movement and makes the soil easier to work.

    Improvement is gradual. A single application will not transform an entire garden, but repeated additions over several seasons can make a substantial difference.

    Mulch rather than repeatedly digging

    Organic mulch spread over the surface allows worms, roots and soil organisms to incorporate material naturally. This avoids the repeated disturbance that comes with deep annual digging.

    Apply mulch when the ground is moist rather than trapping severe dryness below a thick surface layer.

    Protect the surface

    Bare clay can form a hard crust under heavy rain or direct sun. Plants and mulch protect the surface from this repeated impact.

    Dense planting has another advantage: roots create channels through the soil and contribute organic matter as fine roots die and regrow.

    Avoid adding small quantities of sand

    Adding a little sand to heavy clay is often recommended casually, but small amounts do not necessarily improve structure and in some conditions can create an unpleasant dense mixture.

    Large-scale mineral amendment requires a clear understanding of soil texture and substantial quantities of material. For most garden situations, organic matter and better cultivation habits are more practical.

    Improve drainage carefully

    Water sitting on clay does not always mean the soil itself is the only problem. Compaction, low spots and surrounding hard landscaping can all prevent water from moving away.

    Before installing drains or raising beds, understand where the water is coming from and where it can safely go.

    Choose plants that suit the soil

    Some plants grow extremely well in moisture-retentive clay, while others resent winter wet around their roots. Plant selection can therefore reduce the amount of correction the garden needs.

    A plant that naturally suits heavier soil will generally establish more reliably than a plant that requires constant intervention to survive there.

    New planting in clay

    Avoid creating a narrow planting hole filled entirely with light compost. Roots may remain inside that pocket instead of moving into the surrounding soil.

    Loosen a wider area and blend improvements more gradually into the existing soil.

    Reduce compaction

    Permanent paths or stepping routes are useful in beds that require regular access. They prevent repeated foot traffic from compacting the same garden soil you are trying to improve.

    Think in years, not weekends

    Clay responds well to patient management. Add organic matter, minimise unnecessary compaction, protect the surface and choose plants that appreciate moisture-retentive soil. The cumulative effect is far more useful than trying to rebuild the soil in one dramatic operation.

    See also A simple guide to garden compost and Peat-free compost in the garden.
  • When and how to mulch garden borders

    When and how to mulch garden borders

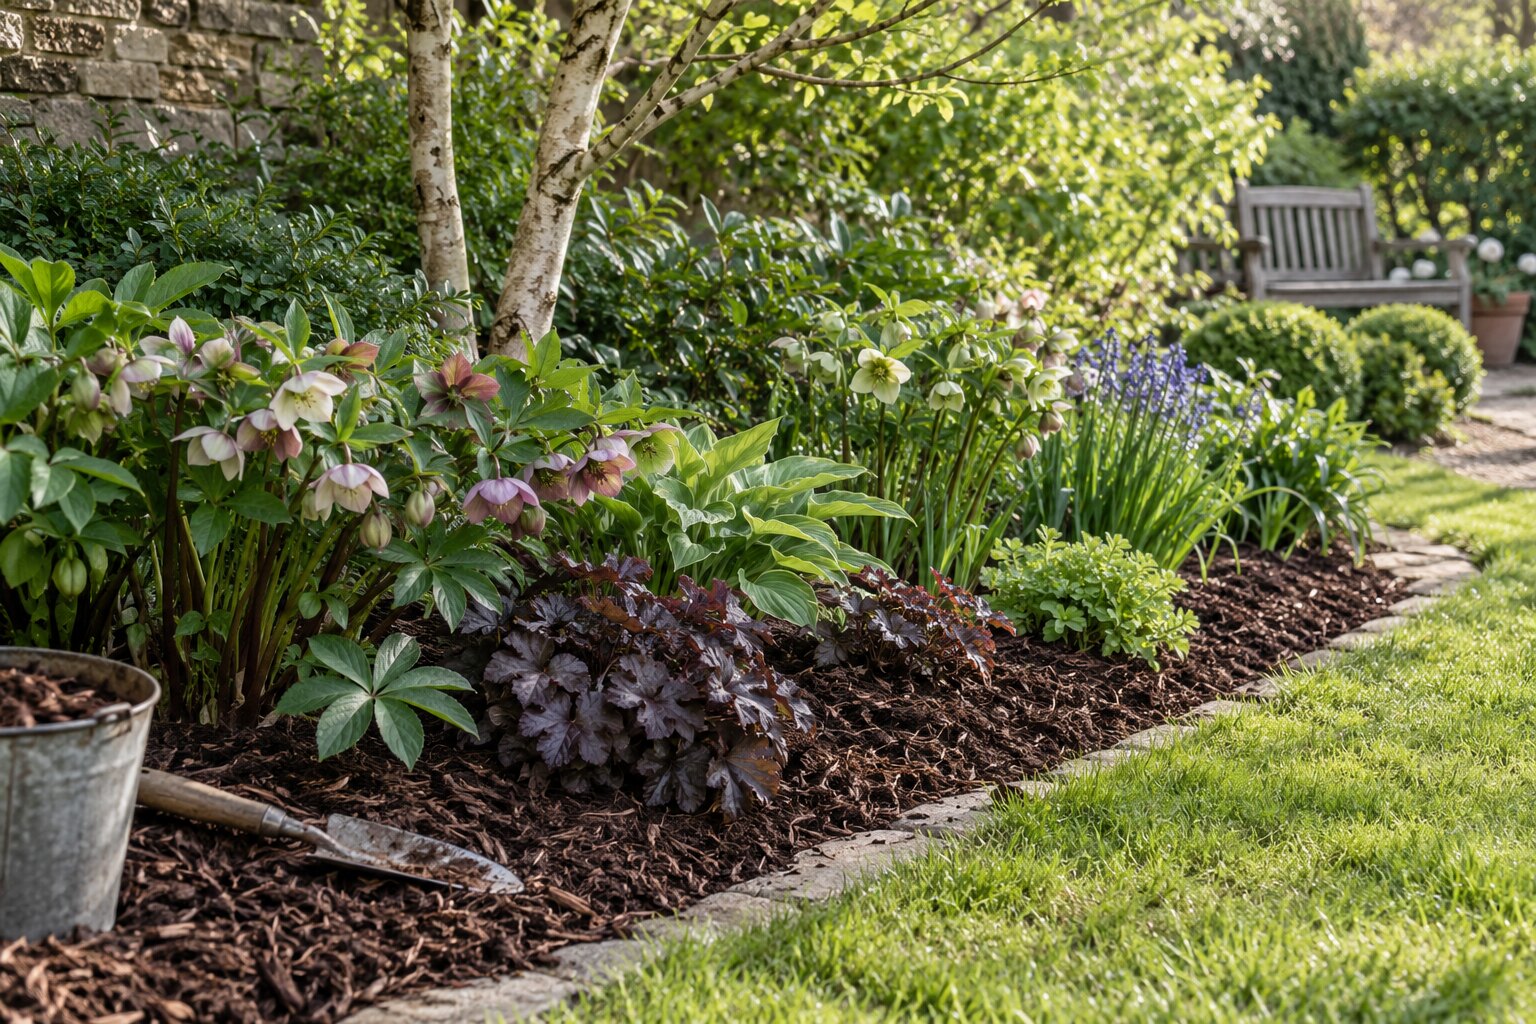
    Mulching is one of the simplest ways to improve the conditions around established plants. A layer of material placed over the soil surface can reduce moisture loss, suppress some weeds, protect the surface from heavy rain and gradually add organic matter.

    The benefit depends on using the right material, at the right depth and at the right time.

    When is the best time to mulch?

    Spring and autumn are both useful periods. In spring, mulch can help conserve moisture before warmer weather arrives. In autumn, soil is often still relatively warm and moist, and organic material can begin settling into the border over winter.

    Avoid applying a thick mulch over soil that is extremely dry. Water first or wait for useful rainfall so moisture is present below the surface.

    Prepare the border first

    Remove established perennial weeds before mulching. Mulch can suppress small annual weeds, but it will not permanently solve vigorous bindweed, couch grass or other persistent roots beneath the surface.

    Also remove thick mats of fallen material where disease is a concern.

    Which material should you use?

    Well-rotted garden compost, leaf mould and composted bark are common organic options. Each behaves differently. Compost breaks down relatively quickly and contributes organic matter, while coarser bark products can remain visible longer.

    The best material depends on the planting, the desired appearance and what is available locally.

    How deep should mulch be?

    A token dusting disappears quickly and does little to suppress weeds. A useful mulch generally needs enough depth to form a continuous layer, often several centimetres.

    More is not always better. Very deep material can bury small plants and crowns or create unsuitable conditions around stems.

    Keep mulch away from crowns and woody stems

    Do not heap mulch directly against tree trunks, shrub stems or the crowns of perennials. Leave a small clear space around vulnerable plant bases.

    This keeps the natural relationship between stem and soil intact and avoids creating continuously damp material against bark.

    Spread it over the whole useful area

    Mulch works best as a surface treatment, not as isolated piles around individual plants. Spread it evenly through the border where practical.

    Work around emerging bulbs and low plants rather than covering them blindly.

    Do you need to dig mulch in?

    Usually not. Leaving organic mulch on the surface allows natural soil processes to incorporate it gradually. Worms and other organisms move material downward over time.

    This approach also protects soil structure by reducing unnecessary cultivation.

    Mulch and slugs

    Organic mulch creates a cooler, moister surface environment, which can also provide shelter for slugs. This does not mean mulch should automatically be avoided, but young vulnerable plants may need closer monitoring.

    Keep mulch slightly away from the smallest seedlings and inspect susceptible areas regularly.

    Mulch is not fertiliser

    Some organic mulches contribute nutrients as they break down, but their main purpose is often soil protection and organic matter. Do not assume a mulch provides every nutrient a plant might need.

    Repeat when necessary

    Organic mulches decompose and become part of the soil. That is useful, but it means the visible layer becomes thinner over time. Check borders each year and top up where needed rather than following a fixed calendar regardless of conditions.

    A simple habit with cumulative results

    Regular mulching can reduce watering pressure, moderate soil conditions and gradually improve the upper layer of a border. Done consistently, it is one of the least disruptive ways to improve garden soil.

    Read more in A simple guide to garden compost, Watering the garden in dry weather and Slugs in the garden.

  • How to deal with waterlogged garden soil

    How to deal with waterlogged garden soil

    Waterlogged soil is more than simply wet soil. When water fills most of the spaces that normally hold air, plant roots can struggle to breathe. If the condition persists, roots weaken or die and plants may become yellow, stunted or unstable.

    The correct solution depends on why the water is present. Heavy soil, compaction, a high water table, a low point in the garden and runoff from surrounding surfaces can all produce similar symptoms.

    Do not start digging while the soil is saturated

    Walking and digging on saturated soil can cause severe compaction and smear the sides of planting holes. This is especially damaging on clay.

    If possible, keep off the affected area until some water has drained and the soil is workable again.

    Work out where the water comes from

    Observe the garden during and after heavy rain. Does water collect in one hollow? Does it run from a paved area or neighbouring higher ground? Is the entire garden saturated or only one bed?

    Understanding the source prevents you from installing a solution in the wrong place.

    Check for compaction

    Construction work, repeated foot traffic and machinery can create compacted layers that slow drainage dramatically.

    Once conditions are suitable, test the soil with a fork or spade. If penetration becomes suddenly difficult at a consistent depth, a compacted layer may be part of the problem.

    Improve soil structure gradually

    Organic matter can improve the structure of heavy soils over time. Mulching with suitable compost or leaf mould encourages biological activity and better aggregation.

    Do not expect one application to transform a persistently wet site. Soil improvement is cumulative.

    Avoid creating a planting sump

    On heavy soil, a deep planting hole filled with very free-draining compost can behave like a bucket surrounded by less permeable ground. Water may collect around the roots rather than disappear.

    Improve a wider area where possible and keep the planting medium reasonably compatible with the surrounding soil.

    Raised beds can help in the right place

    Raising the root zone above persistently saturated ground can improve conditions for plants that need better drainage. This is particularly useful in kitchen gardens and defined planting areas.

    A raised bed does not remove the underlying water, so it should not block natural drainage or send water towards buildings or neighbouring land.

    Choose plants that tolerate the conditions

    If a site is naturally moisture-retentive, working with the conditions can be more successful than trying to make every part of the garden dry.

    Many plants tolerate moist soils well, while others require sharp drainage. Match the plant to the site rather than repeatedly replacing plants that dislike the conditions.

    When drainage work may be necessary

    Where waterlogging is severe, persistent and caused by site drainage rather than soil structure alone, professional drainage advice may be appropriate.

    Any drain needs a legitimate outlet. Moving water from one part of the garden only to create a problem elsewhere is not a solution.

    Protect vulnerable plants during a wet winter

    Plants in the worst positions may need lifting or moving if their roots are clearly at risk. Container plants should have unobstructed drainage holes and should not sit in permanently full saucers outdoors.

    Signs of root stress

    • Leaves yellow despite the soil being wet.
    • Plants wilt even though water is present.
    • Growth becomes weak and stunted.
    • Roots are dark, soft or decaying.
    • Plants become loose because roots have died.

    Waterlogging is a site problem first

    The most durable solution comes from understanding the movement of water through the garden. Improve compacted soil, protect structure, use organic matter, adapt planting and install drainage only where there is a clear reason and a safe outlet.

    For soil improvement, read A simple guide to garden compost and Peat-free compost in the garden. For winter conditions, see Preparing the garden for winter.