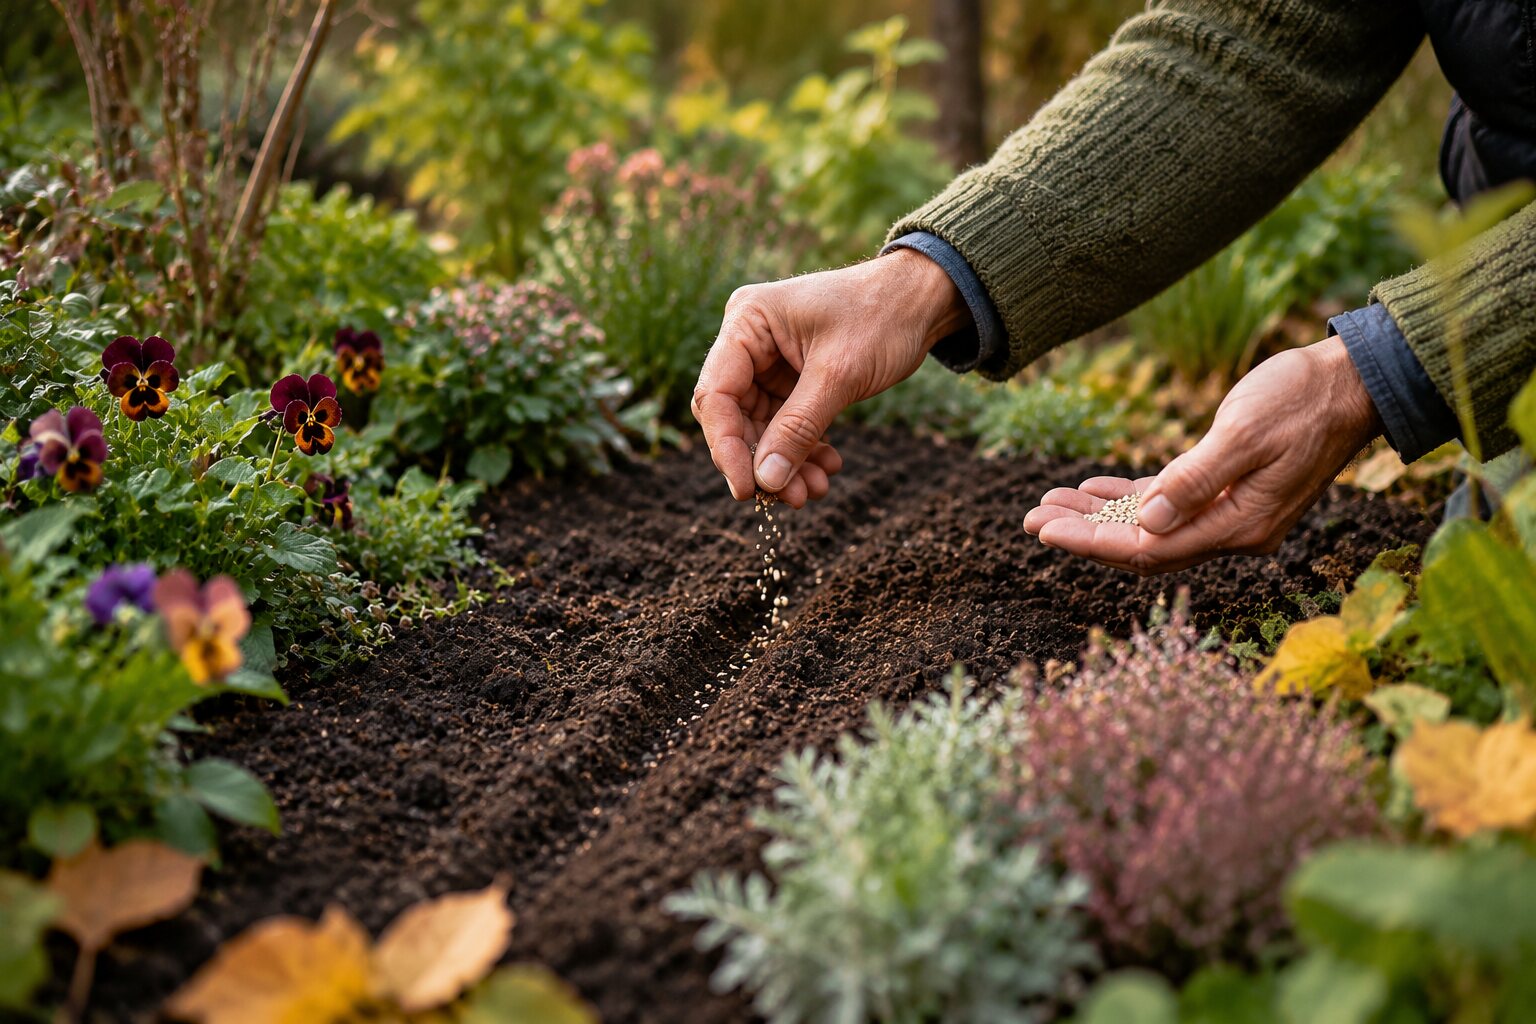
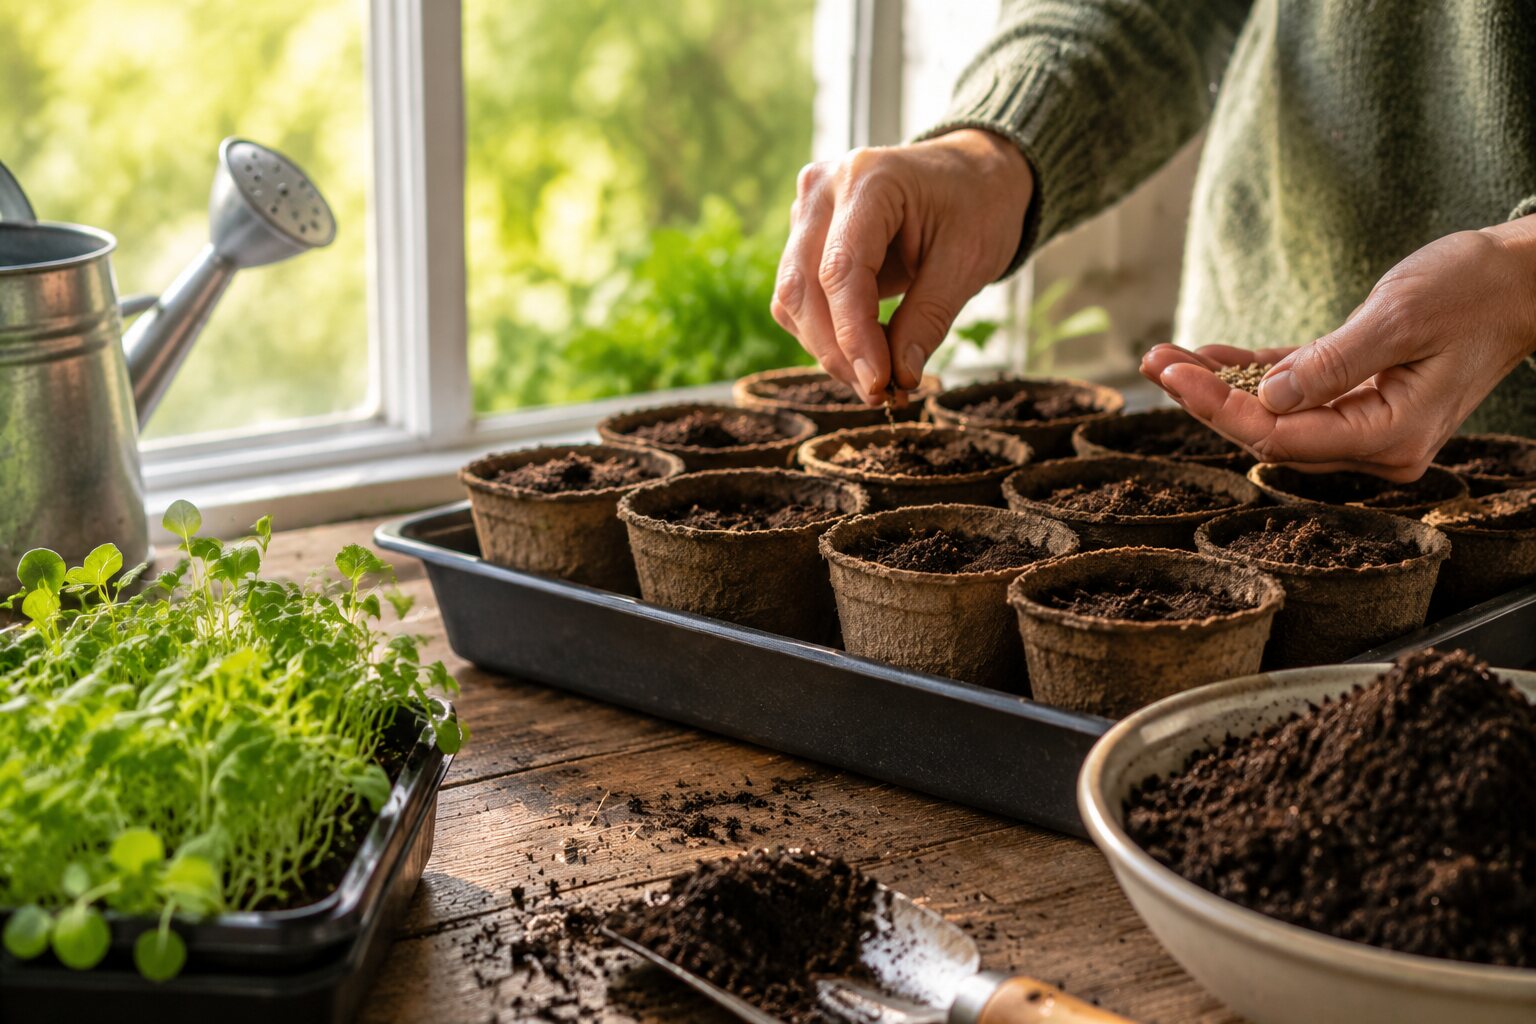
Sowing seeds indoors is one of the simplest ways to give the growing season a useful head start. It allows tender or slow-growing plants to begin in controlled conditions while the garden outside is still cold, wet or unpredictable. The aim, however, is not simply to sow as early as possible. Strong seedlings come from getting timing, light, temperature and watering in balance.
Start with timing, not the seed tray
Before opening a packet of seed, check when the plant can realistically move outside. A seedling sown too early may spend weeks indoors after it has outgrown the space available to it. That often produces stretched stems, crowded roots and plants that are more difficult to establish later.
Work backwards from the likely planting-out date. Tender plants generally need to wait until the risk of damaging frost has passed, while hardier crops and flowers can move outside sooner. The seed packet remains useful, but local conditions matter too: spring arrives at different speeds in different gardens.
What you need
- Clean seed trays, modules or small pots with drainage holes
- A fine, peat-free seed or multipurpose compost
- A watering can with a fine rose, or a tray for watering from below
- Labels and a waterproof pencil
- A bright windowsill, greenhouse or other well-lit position
- Optional clear lids or propagation covers for seeds that benefit from steady humidity
Good seed compost should hold enough moisture for germination without remaining saturated. A very rich compost is unnecessary at this stage: the seed contains much of the energy needed for its first growth.
1. Fill the container without compacting it
Fill trays or modules with moist compost and settle it lightly. Avoid pressing it into a dense block. Roots develop better where the compost contains a useful balance of moisture and air.
Level the surface so that water does not collect in depressions. For very small seeds, a relatively fine surface makes even sowing easier.
2. Sow at the right depth
A useful general rule is that larger seeds are covered by roughly their own depth or a little more, while very fine seeds may need only the lightest covering. Some seeds require light to germinate and are best left on the surface. The packet instructions take priority where a plant has particular requirements.
Do not sow more densely simply because the seed is small. Crowded seedlings compete for light and airflow almost immediately. In modules, one or two seeds per cell often makes later handling much easier.
3. Water gently
Watering can undo careful sowing in seconds if a heavy stream displaces the seed. Use a fine rose or stand the container briefly in shallow water and allow moisture to rise through the drainage holes. The compost should be evenly damp rather than waterlogged.
4. Give seeds the temperature they need
Different plants germinate at different temperatures. Many common garden plants germinate comfortably in normal indoor warmth, while some prefer cooler conditions. A propagator can be useful for genuinely warmth-loving plants, but unnecessary heat can also produce rapid, weak growth.
Once germination begins, light becomes especially important. Remove opaque covers and move seedlings to the brightest suitable position.
Light is usually the limiting factor
Seedlings leaning strongly towards a window or developing long, pale stems are asking for more light. Rotate trays regularly if light comes mainly from one direction. A cool but very bright place is often better than a warm, dim room.
Keep young plants away from hot radiators. Warmth accelerates growth, and without equally strong light the result is often soft, elongated seedlings.
Pricking out and potting on
Seedlings sown together in a tray usually need separating once they are large enough to handle. Their first leaves are seed leaves; the leaves that follow begin to show the shape of the mature plant. Once true leaves are developing, seedlings can normally be moved carefully into individual modules or pots.
Handle small seedlings by a leaf rather than squeezing the delicate stem. Make a hole in fresh compost, lower the roots into it and firm very gently around the plant. Water afterwards to settle the compost around the roots.
Do not skip hardening off
Plants raised indoors have not experienced outdoor wind, stronger sunlight or large temperature changes. Moving them straight from a protected room to the garden can check their growth badly.
Introduce plants gradually to outdoor conditions over roughly a week or two. Begin with sheltered periods outside during mild weather, bring them back under cover when necessary, then progressively increase their exposure.
Common problems
- Seedlings are tall and weak: increase light and, if possible, reduce excessive warmth.
- Compost remains constantly wet: improve drainage and allow the surface to begin drying between waterings.
- Seeds do not germinate: check temperature, moisture, sowing depth and the expected germination time before giving up.
- Seedlings collapse at soil level: overcrowding, poor airflow and excessive moisture can encourage damping-off problems.
A better approach to early sowing
The strongest spring seedlings are not necessarily the earliest ones. They are the plants that reach outdoor conditions at the right size, with compact growth and healthy roots. Sow in manageable batches, label everything and keep notes on what worked. Within a few seasons, the best sowing dates for your own garden become much clearer.
For more on growing conditions, see Peat-free compost in the garden and Planting a garden for the seasons.